I can’t believe the before and after day has finally come. It has been quite the journey (around 10 months to be exact) but we have completed the Lady Laurier project and are thrilled, to say the least!!! This was our biggest undertaking yet and though it seemed to drag for a bit (permits take forever in this city!!), it slowly but surely nestled its way into all of our hearts. I do believe each project we complete has a unique aspect that I fall in love with, but this one in particular is extra special. It’s not often that the pieces fall into place quite as nicely as this house did – and for that I am very grateful and almost the most sad to see it go! It’s been with us for a long while…
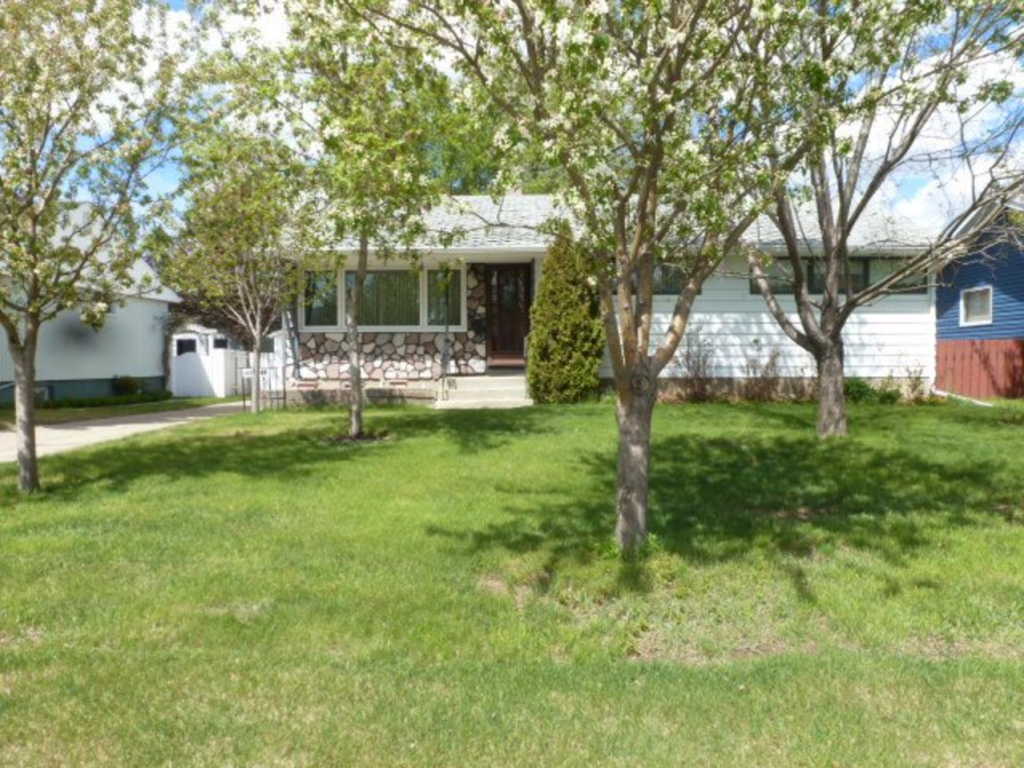
We started with a very typical bungalow – nothing dramatic, no hoarding (thank god!!), no mess…just a quaint yet dated home in a great neighbourhood. We knew right away that this house could handle a second storey, especially in this location and once the idea was there, we never looked back. I think since the house changed so drastically, I’ll do a quick reminder of what we started with, rather than a room by room comparison. We honestly changed too much for the post to be structured that way lol! And because this was SO long ago, I’ll be very impressed with anyone who remembers what the Lady started out as…
| The Before |
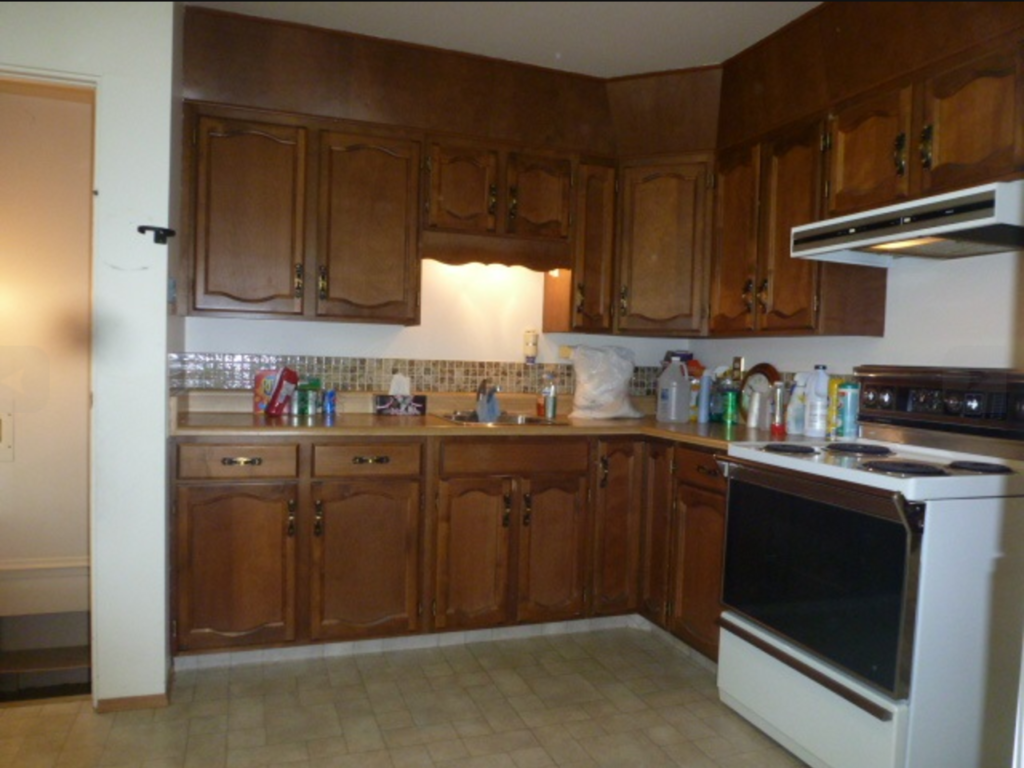
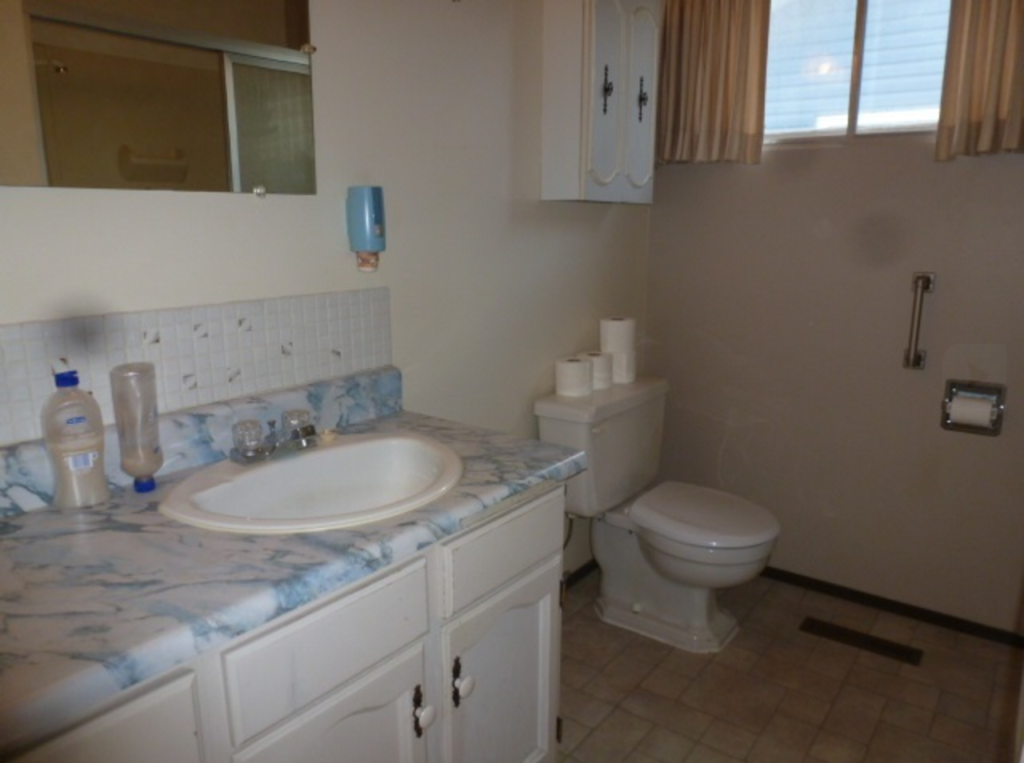
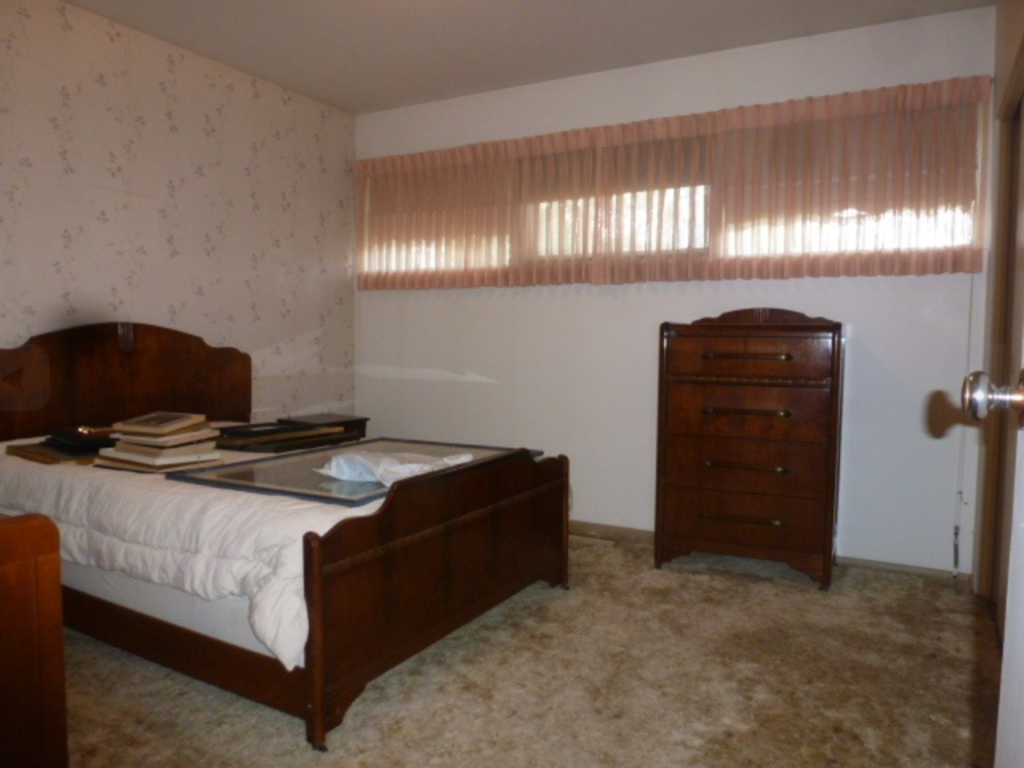
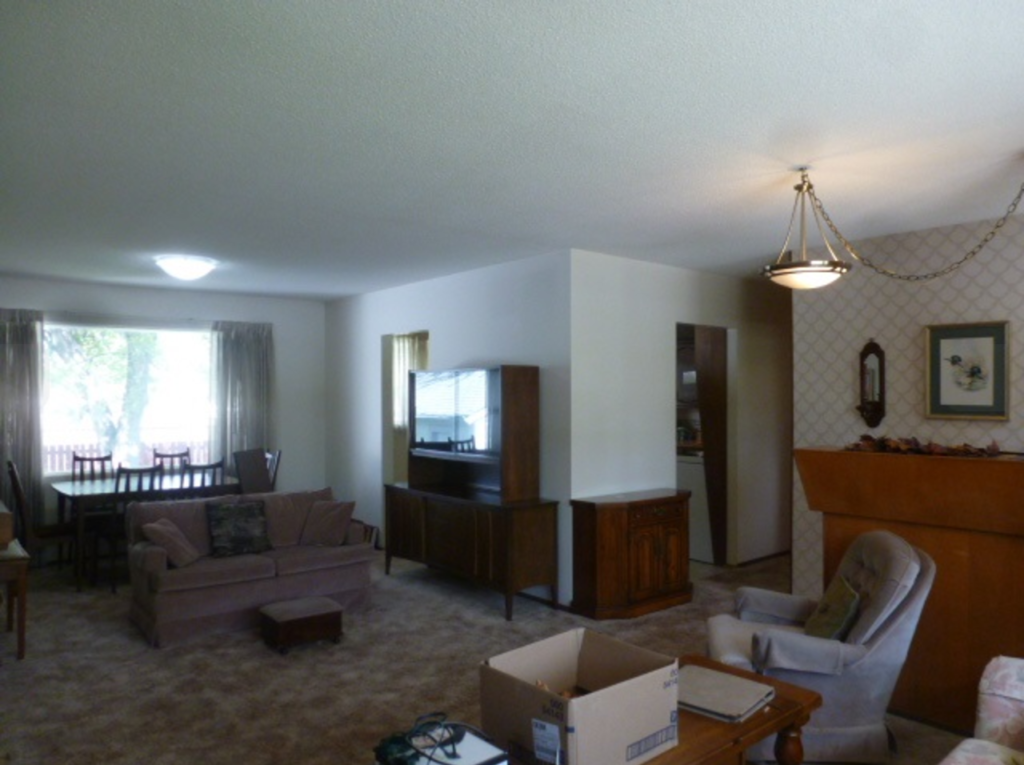
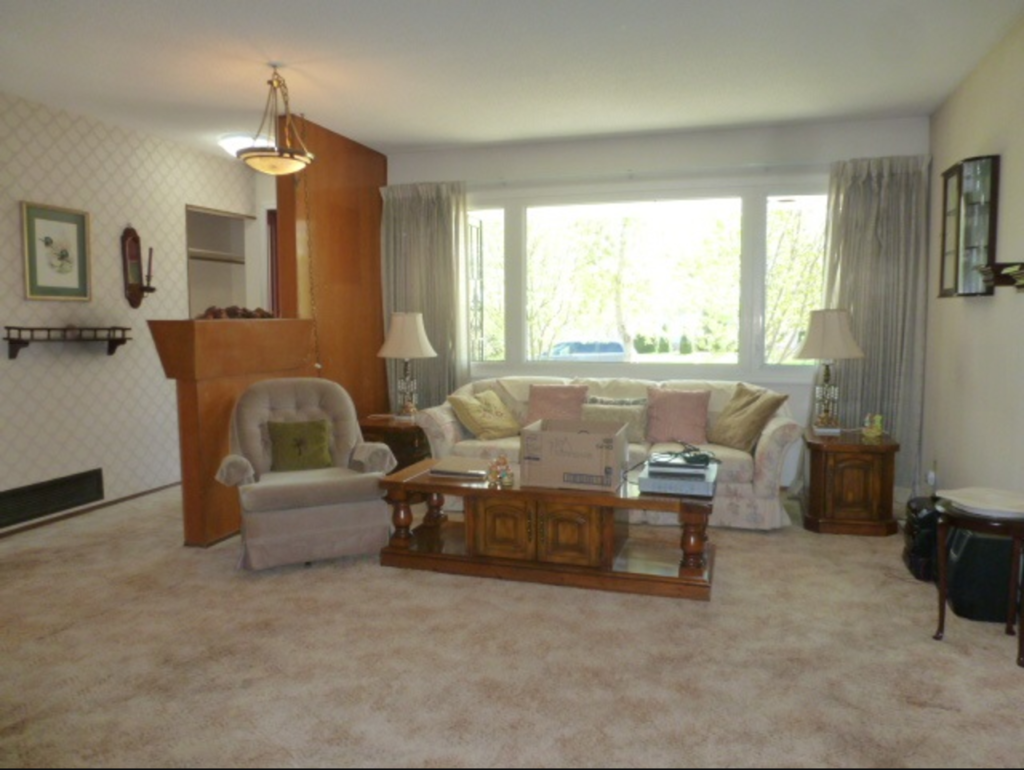
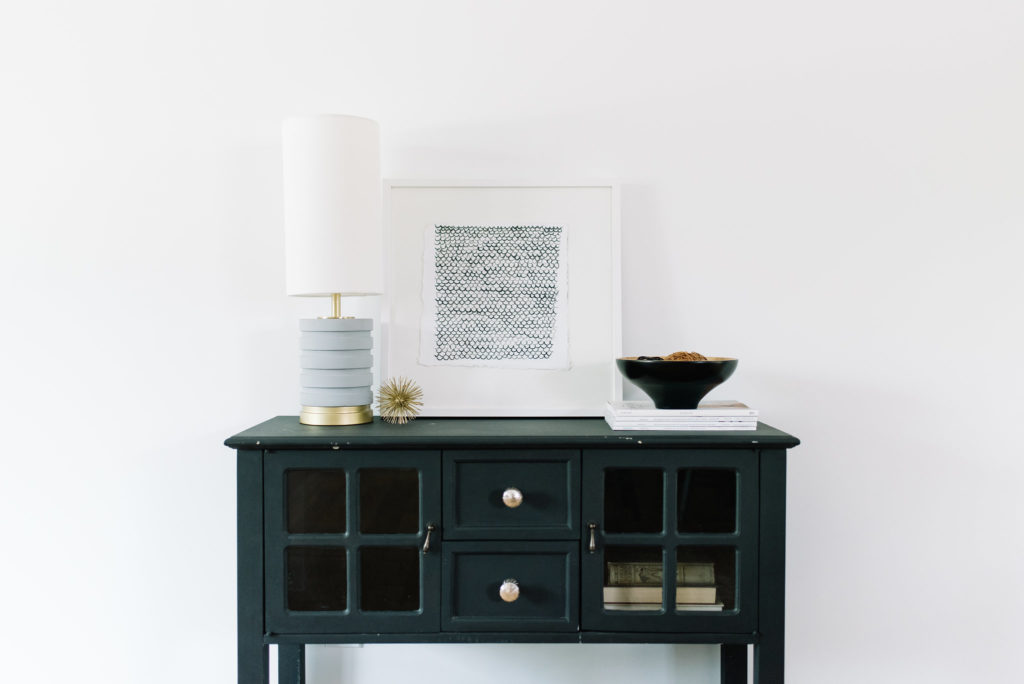
Some Fun Facts: | 1| We have the original home owners’ beautiful console table (can sort of see it in the one photo above) in our home now and I always get asked where it’s from | 2 | the only window we did not change or replace is the front living room window | 3 | we decided to increase the main floor ceilings to 9′ after removing the roof , which involved a lot more work than you’d think! | 4 | we had 3 (!!) interested buyers while it was in its framing stage which could have drastically impacted this journey had one of them jumped on it | 5 | Jack was SO tiny at this point in the progress | 6 | our second storey addition and layout was designed with our dear friend Ashley of Castilia Designs!
Shall we dive in now?! I hope you’re excited! Grab a coffee because this is one big house!!
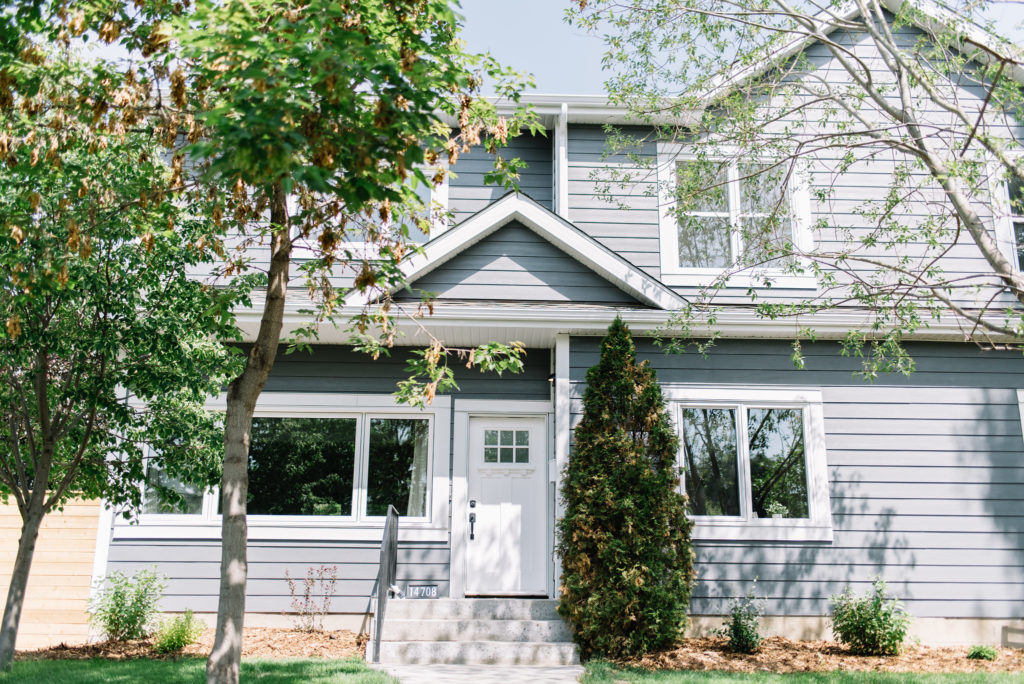
| The After |

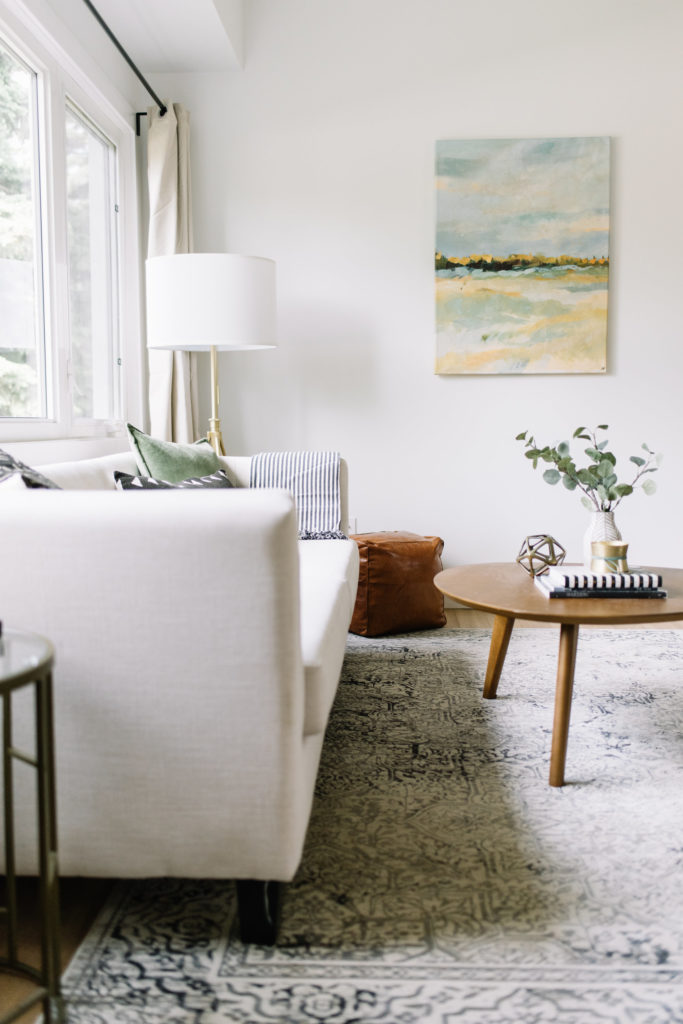
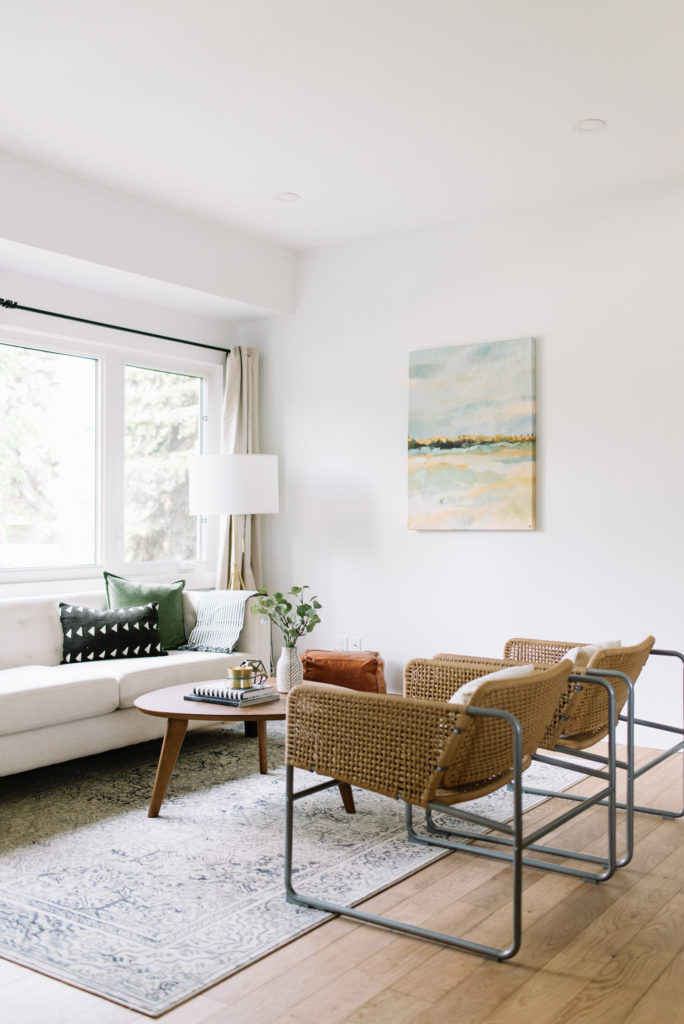
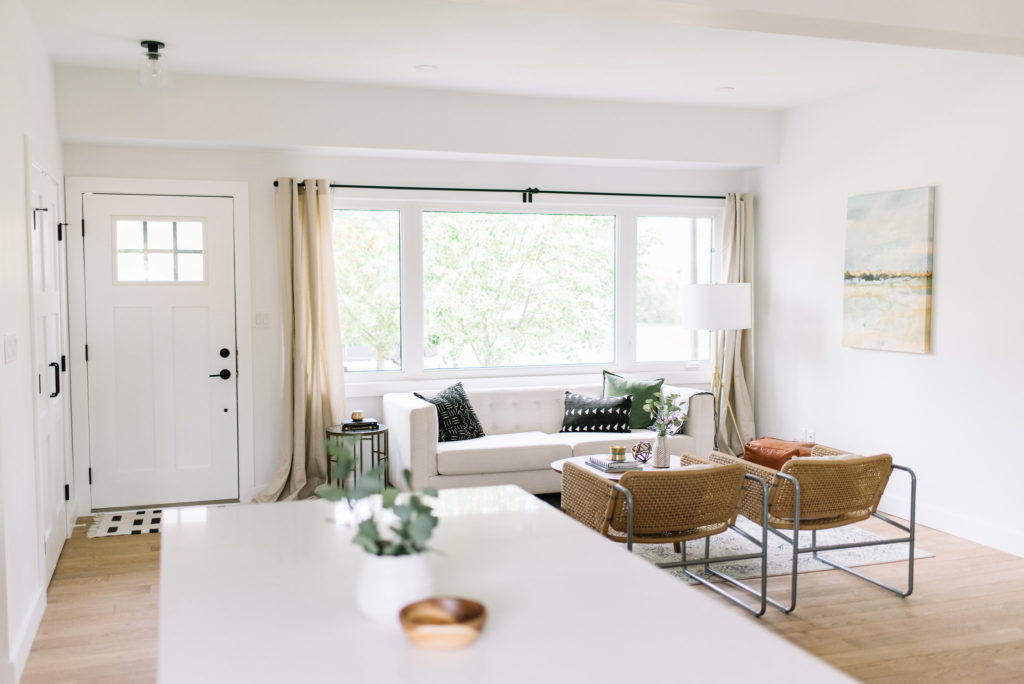
| The Living Room |
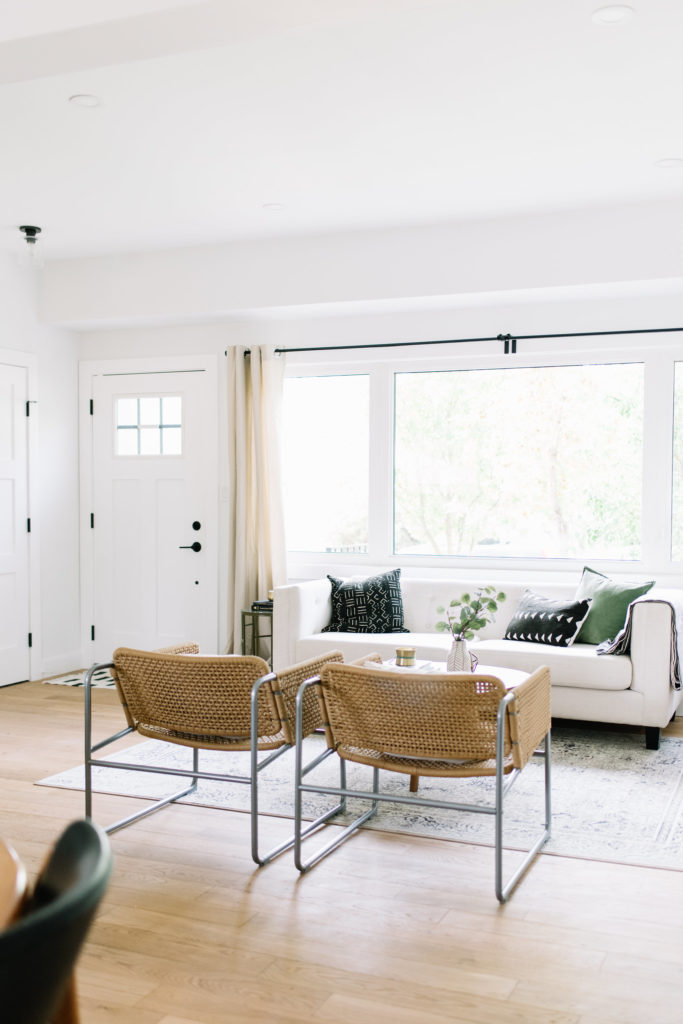
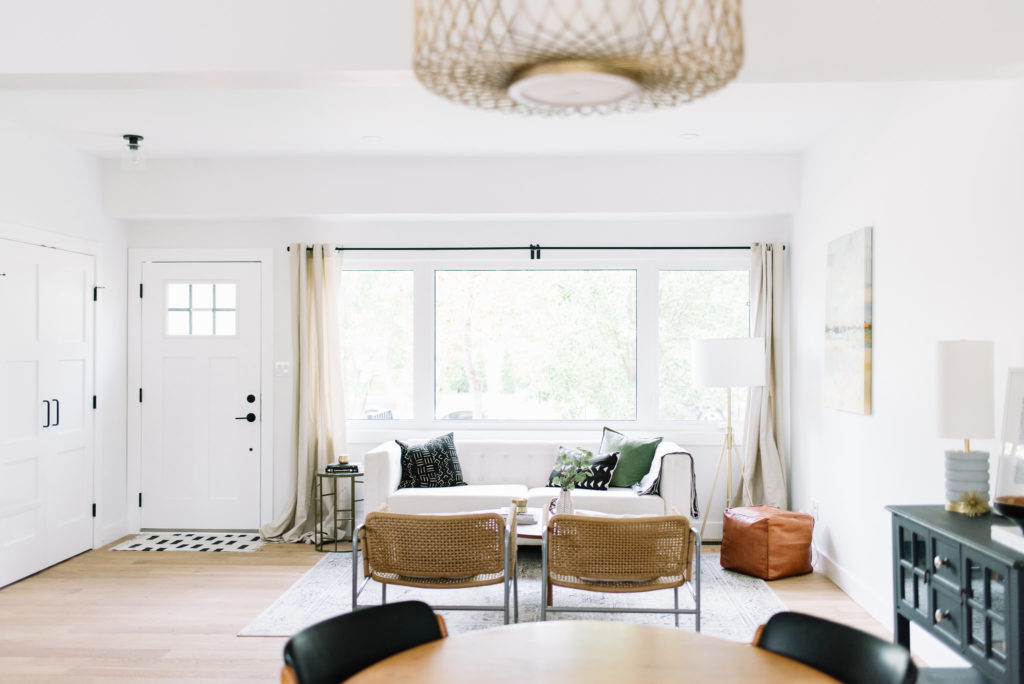
Gaining that extra foot of ceiling height makes this space feel even more open and airy. It was a happy accident that after ordering one specific white paint from Benjamin Moore, they accidentally sold us Decorator’s White. I was disappointed at first until I saw just how much it helped in expanding the space and contrasting with the warmer tones of the floor. Sometimes you just have to roll with it!
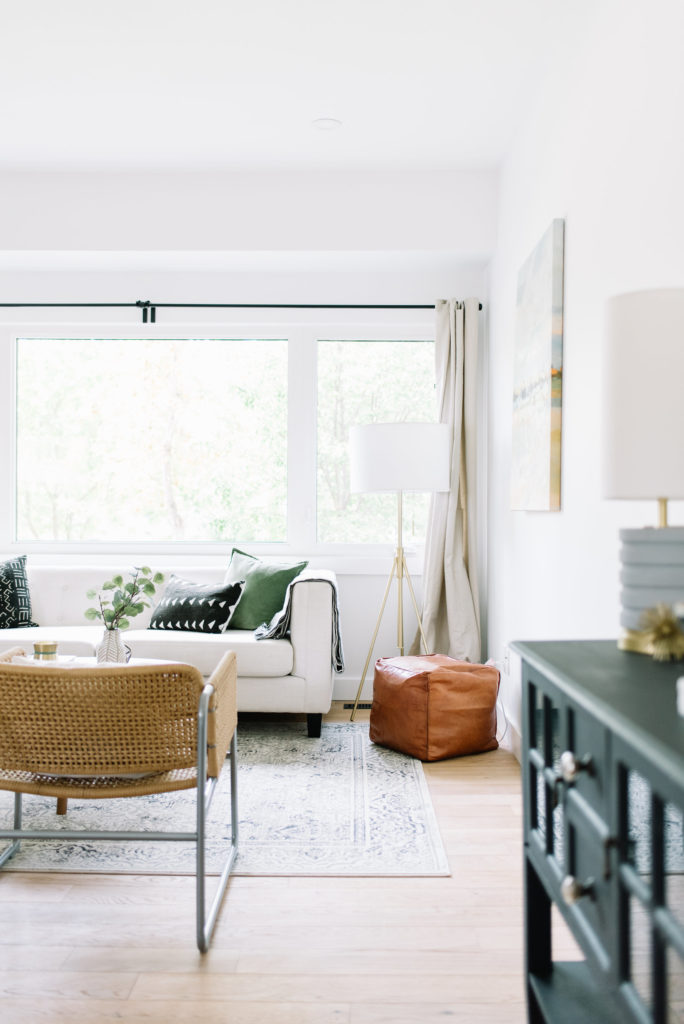 We stage our homes with all our own furniture (leaving my house very bare) but each project gets a few new pieces that suit the style of the home and add some pretty details. I love the soft landscape we picked up and the two accent chairs that are a steal from Ikea.
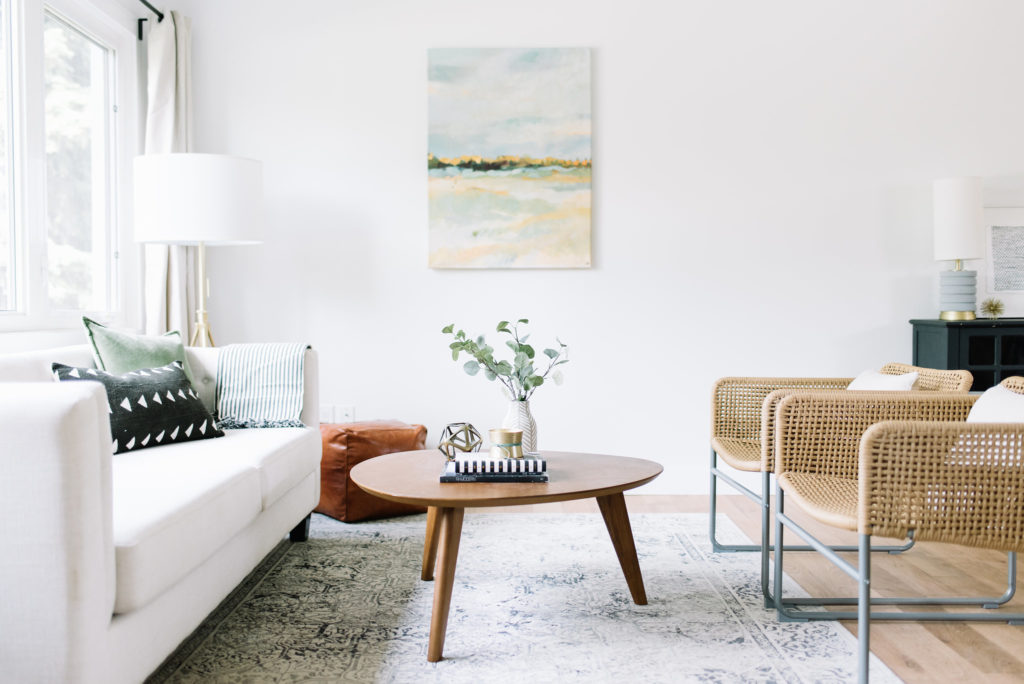


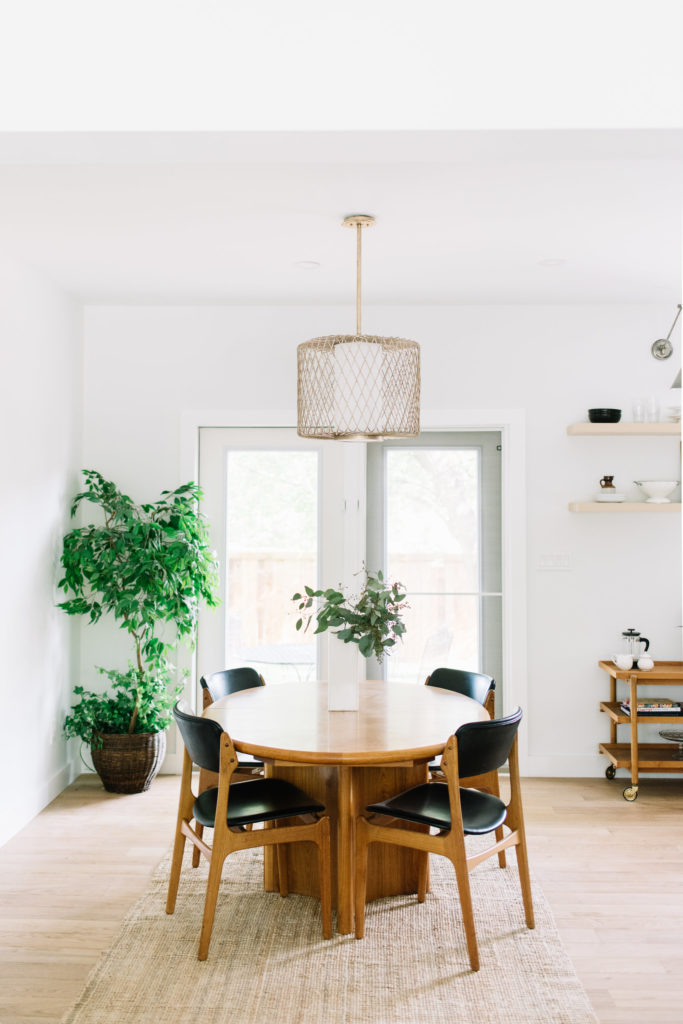
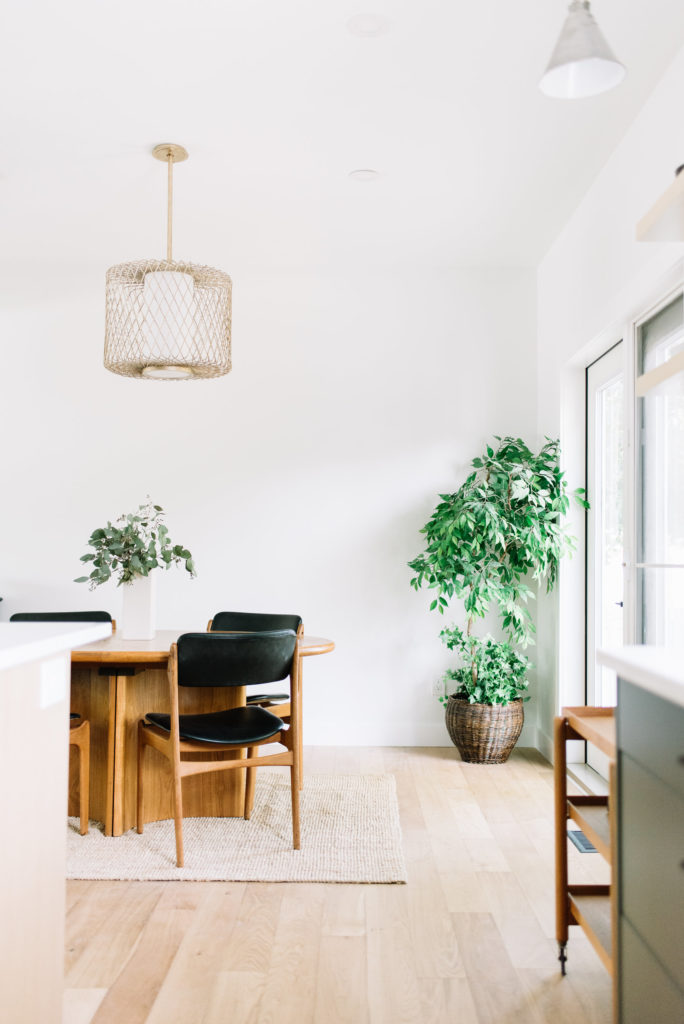
| The Dining Room |
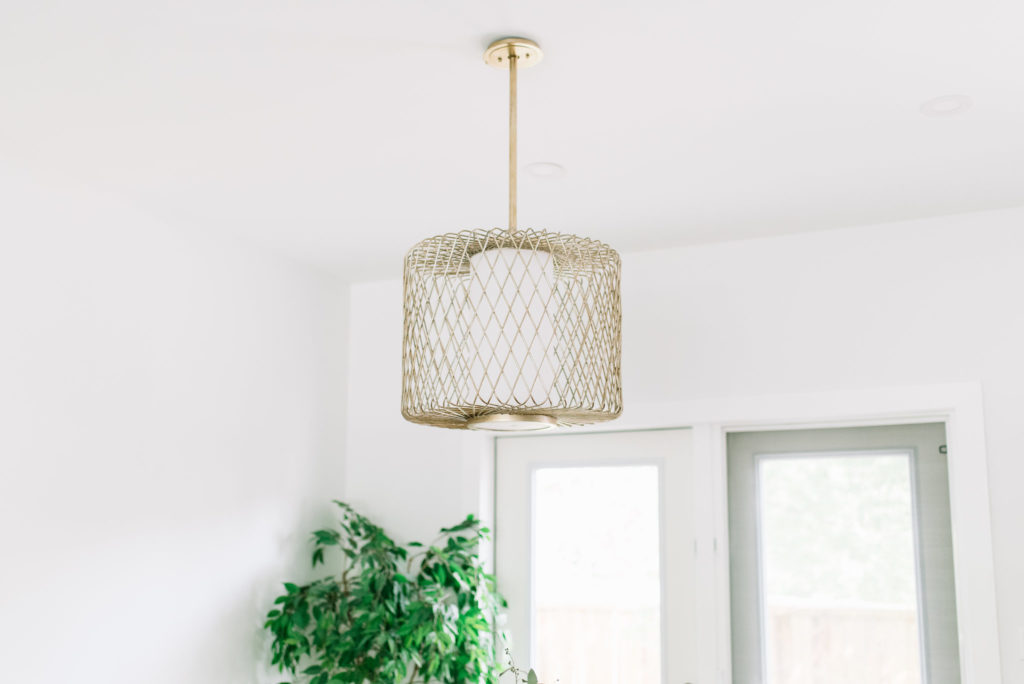
 It will be hard to divide the dining from the kitchen since it is completely open concept but I do want to take a moment in this space. We added doors out to the new deck (PS – we also totally changed the back yard and swapped out the single car garage in favour of a brand new double on the other side of the yard, all so we could save the gorgeous tree out back. Sorry total side note!!) and I found one of my new favourite light fixtures to hang above the dining table. I love that it almost mimics the pattern of a woven fixture! Stunning!
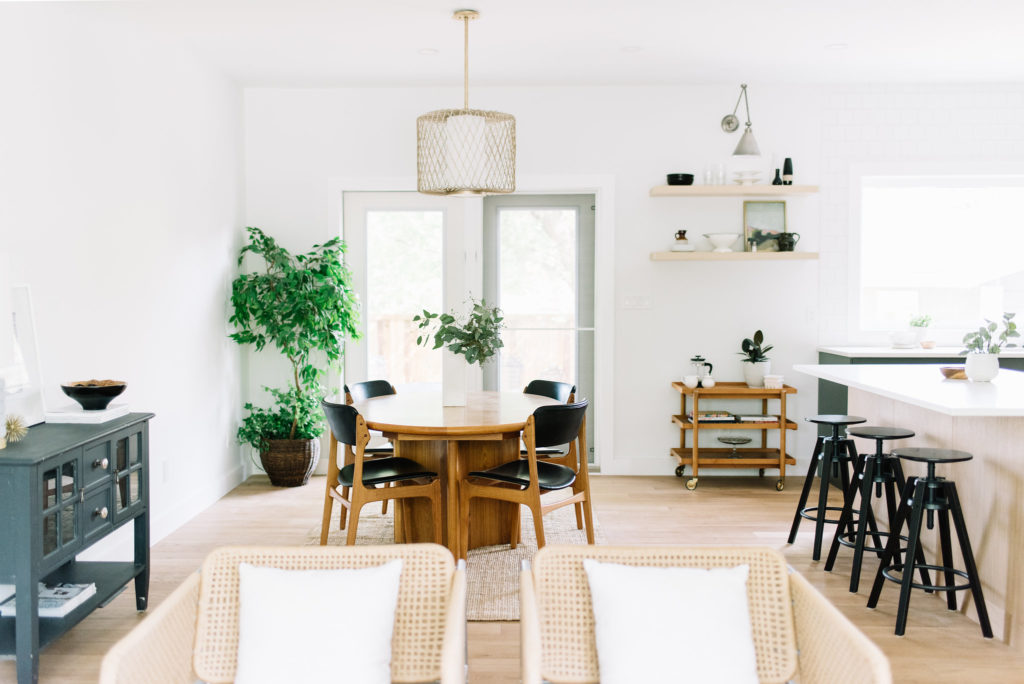
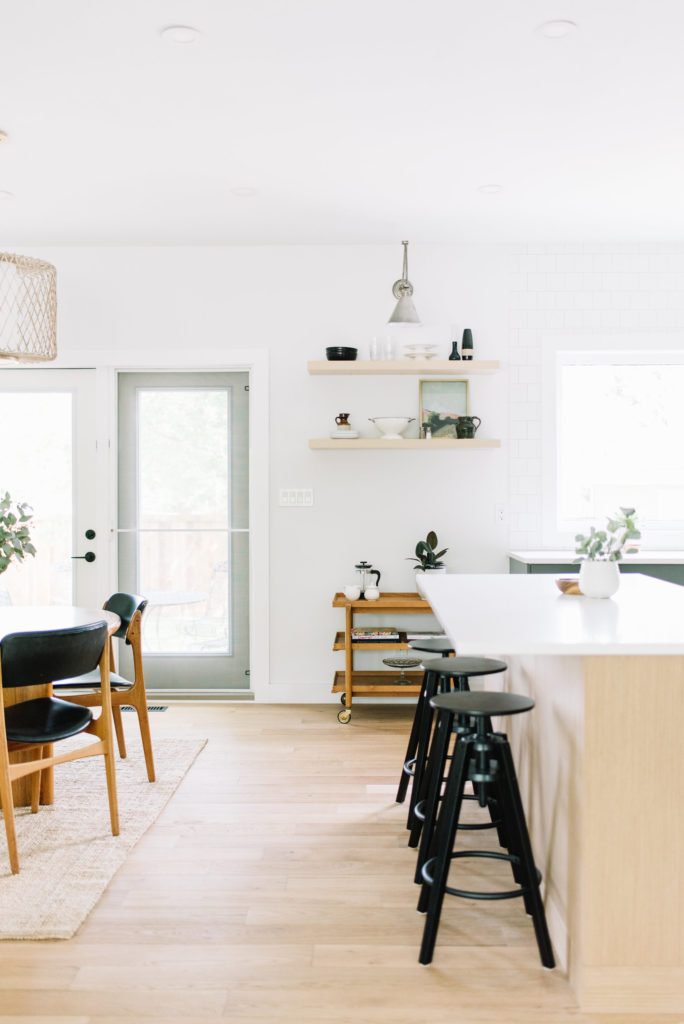
| The Kitchen |
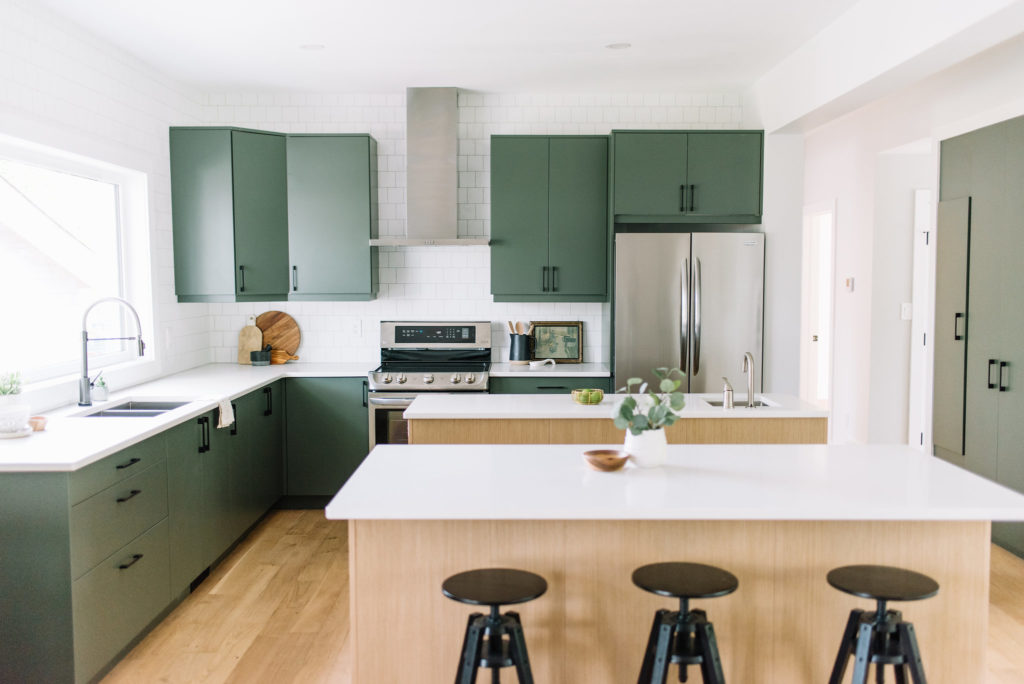
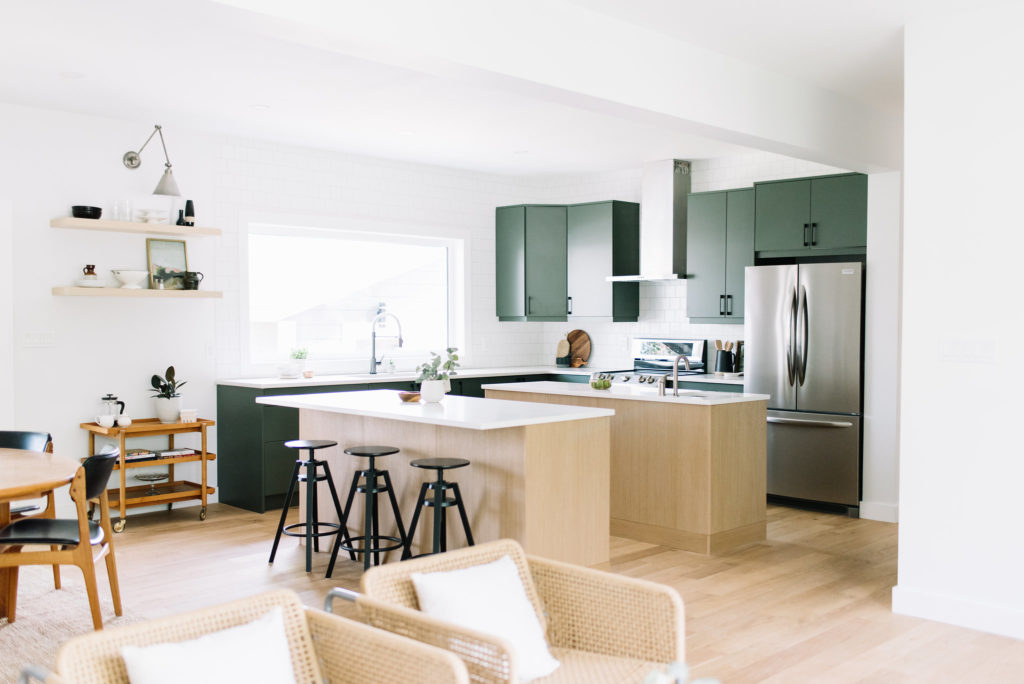 This kitchen. My oh my, it was a long labour of love. The original house had a wall where the islands are located and the back stairs came up into the kitchen space. We closed off that back landing and reconfigured the stairs to come up the other side, into the laundry/mud room area. With such a large space, we could have easily done one large island the length of the kitchen. But we thought…when do you ever get to do TWO islands?! In my mind the people who would own this house would love to cook and entertain, and this allows for both of those things!
 We also decided to work with our friends at Kitch again (remember them from Ottewell?!) to make our dream of a two toned kitchen come to life! I think when I initially said green, there was a little doubt, but when Kitch announced their custom colour option, I knew we had to go with it. I chose Vintage Vogue by Benjamin Moore for the perimeter and then we went with the rift white oak for the islands. A nice contrast that ties perfectly into the floor.
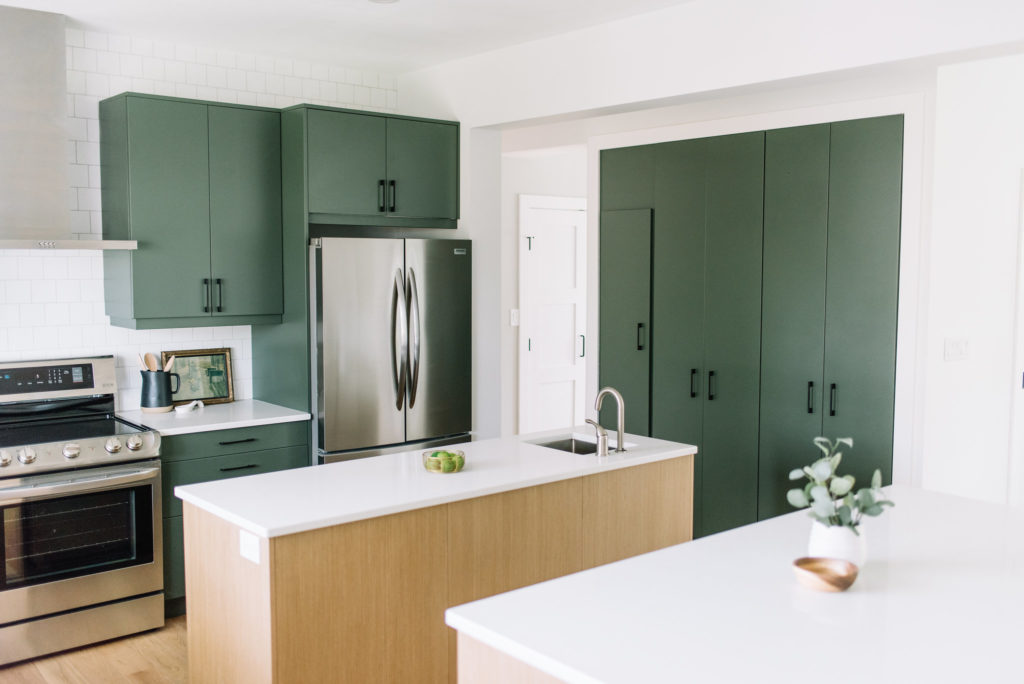
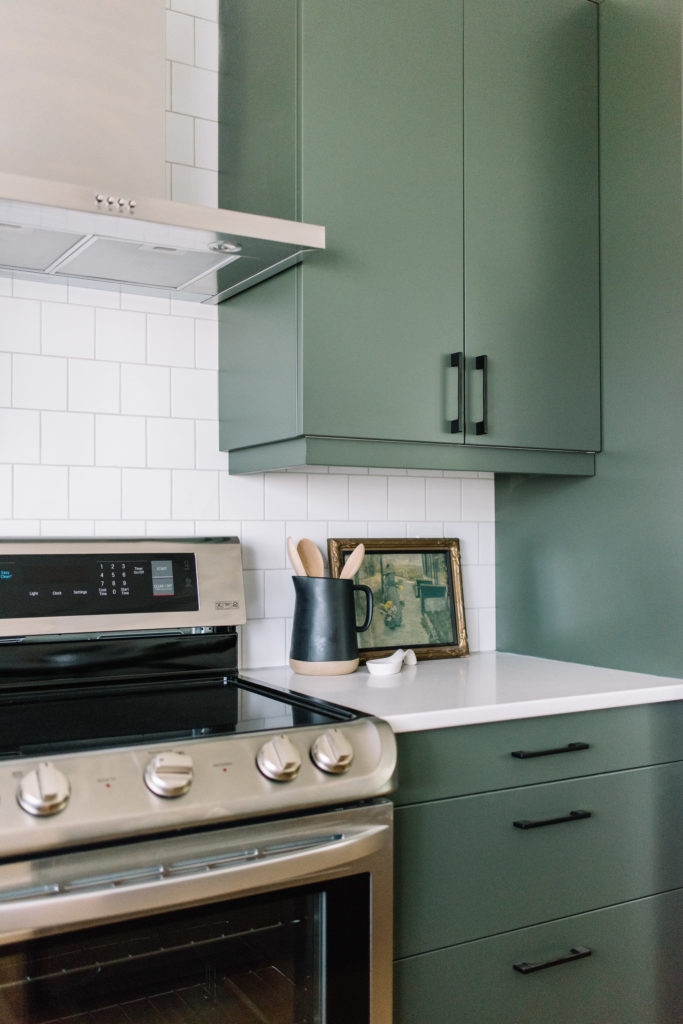 I think the reason this combo works is that the “green” is soft and subtle. It is green without being obvious. I love how the black hardware almost disappears into the cabinets, but then stands out beautifully against the oak.
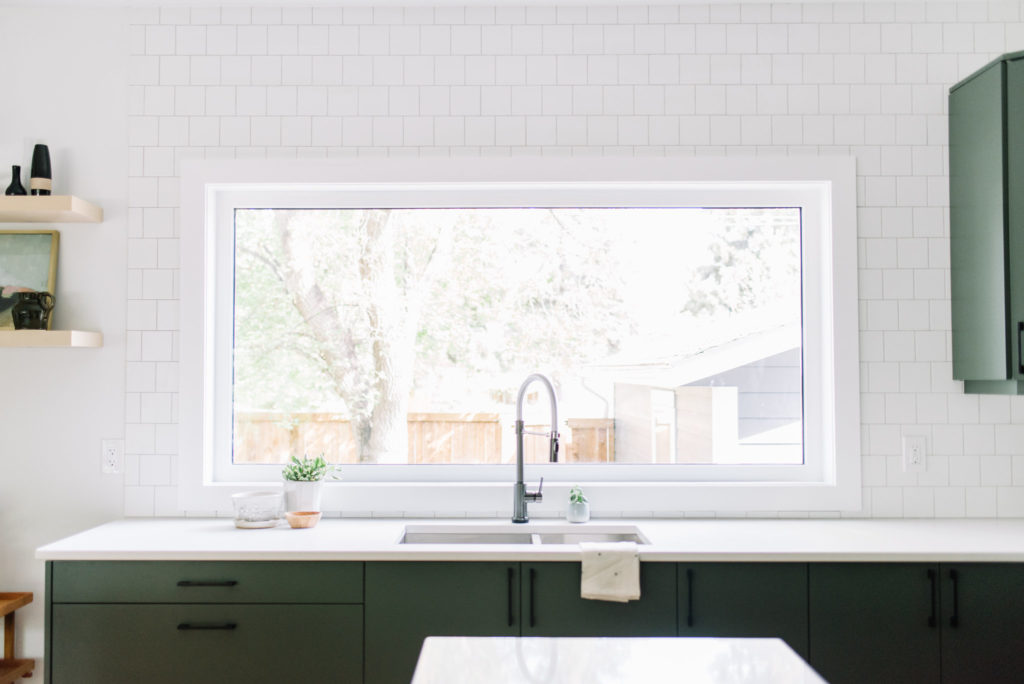 We did a lot of 4 by 4 square subway tile in this house and in this kitchen it was almost begging to go all the way to the ceiling, framing our huge picture window over the sink. This window is everything for me…so much natural light and the perfect view into the backyard. Not to mention that Delta faucet looks pretty stellar in the middle! I should also mention that because we did some bolder cabinets, we chose to keep the countertops as simple as possible. We chose Caesarstone’s Organic White and absolutely loved it for this kitchen!
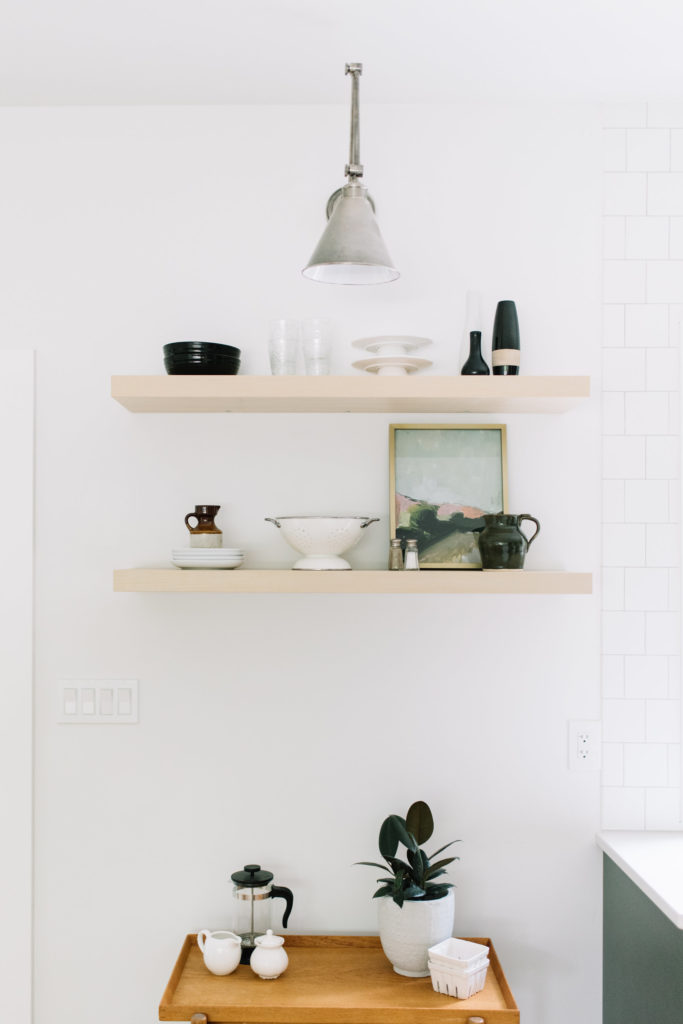
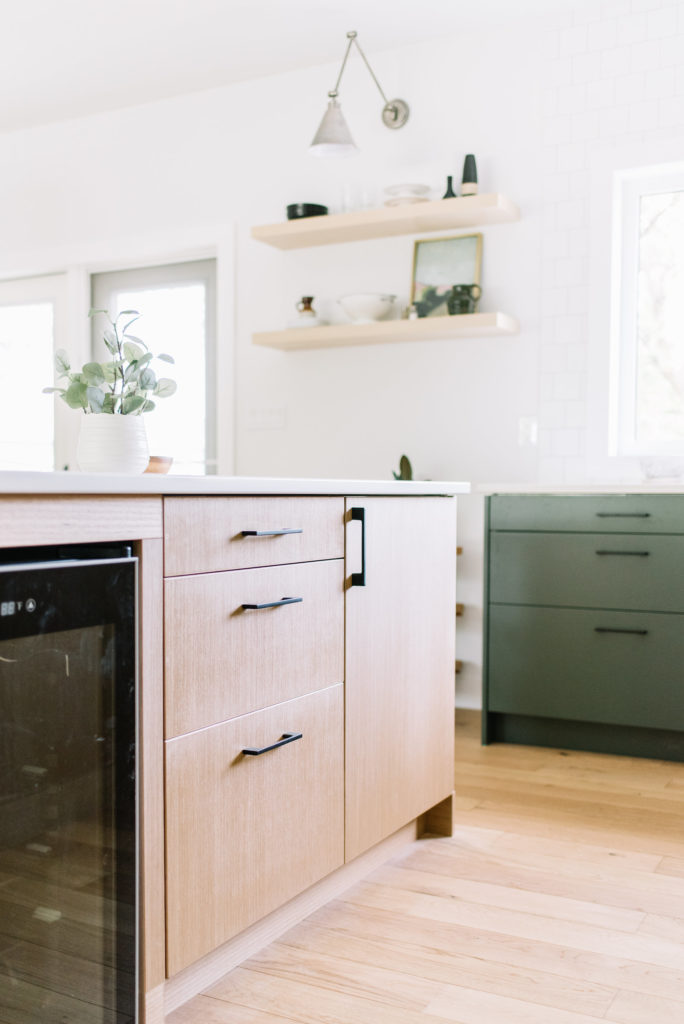
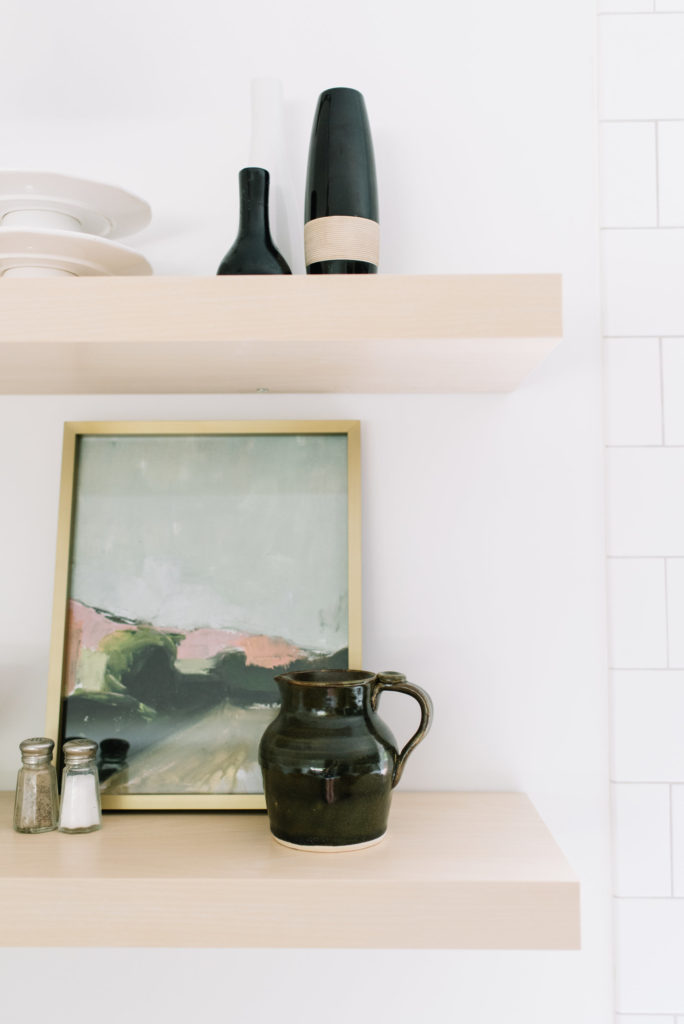 If you know me, you know I couldn’t design a kitchen without a few open shelves to style!! Especially when I had such a great swing arm sconce to play with!
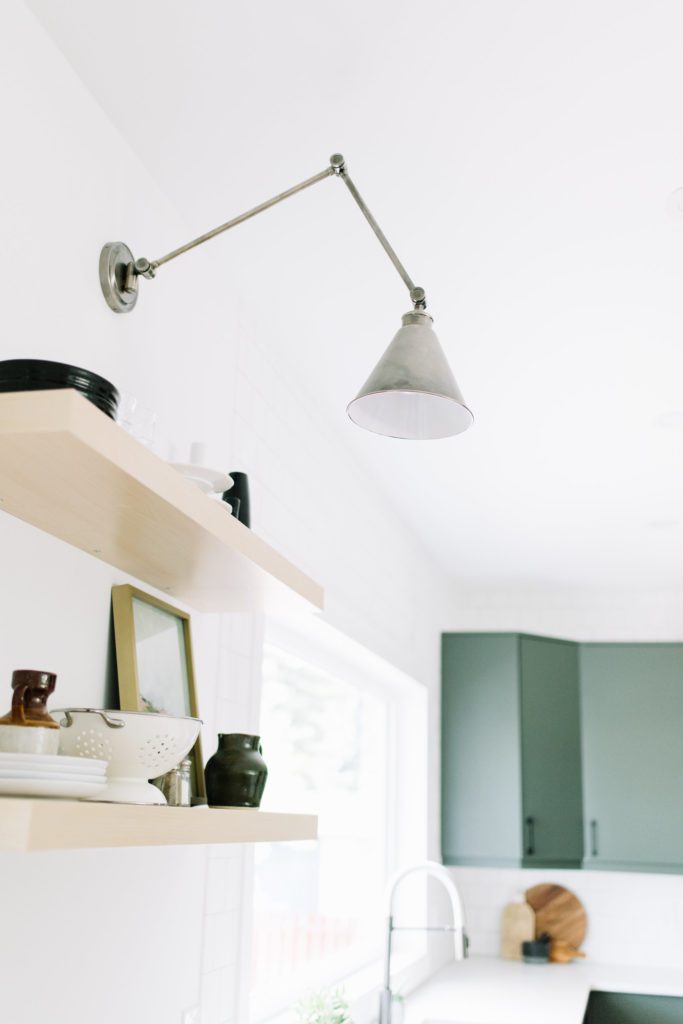
| The Powder Room and Laundry |
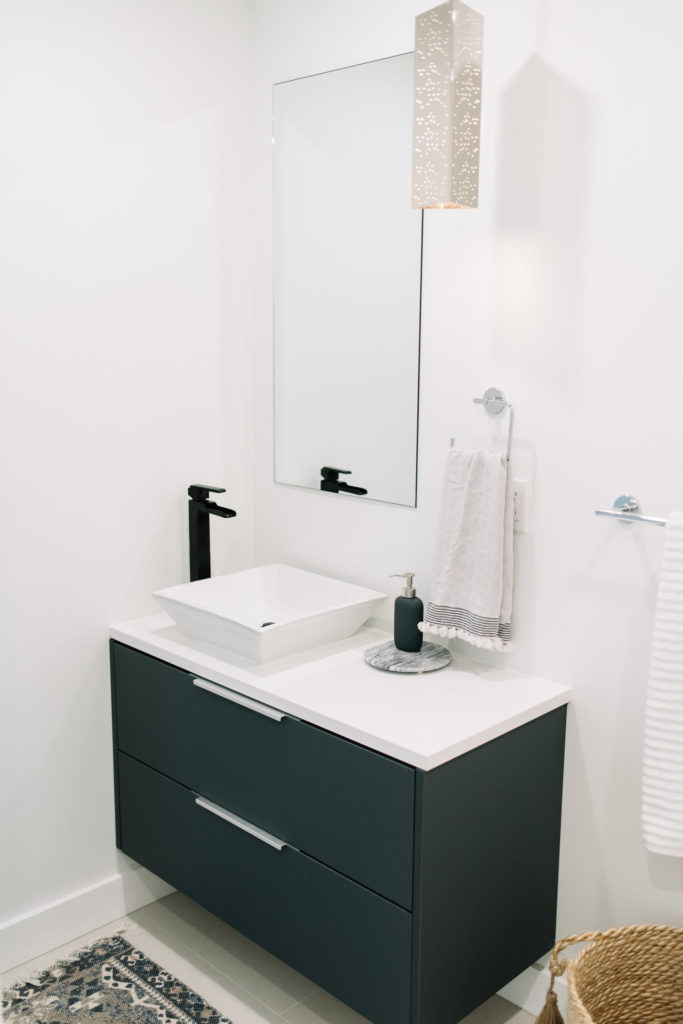 What was once the only bathroom in this home, we now have a pretty powder room space. Technically, it’s more like a full bathroom rather than a powder room since it does boast a full bath and shower combo…but I call it the powder room regardless. We enlisted the help of Kitch again to customize our vanities (along with the other kids bathroom upstairs). Originally I had wanted to continue the green here but I am equally happy with the rich grey Fenix fronts we chose (it’s the Grigio Bromo colour FYI). They tie in to the overall design very nicely!
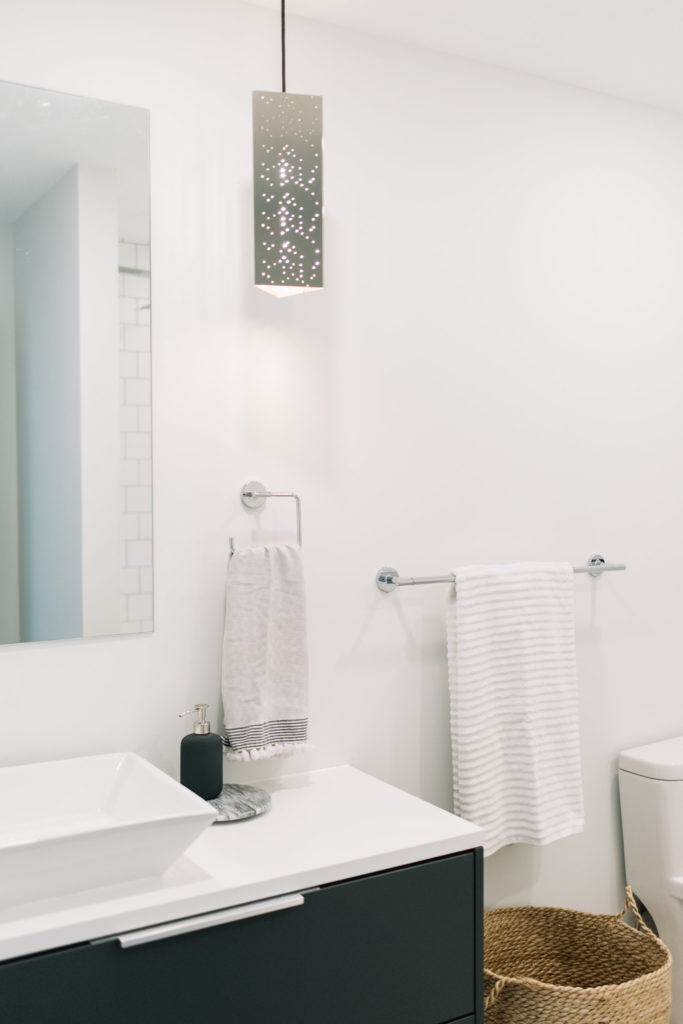
I also can’t get enough of this pendant from Mitzi! Lit up on its own, it’s magical…such a beautiful ambiance that I would put in every room!
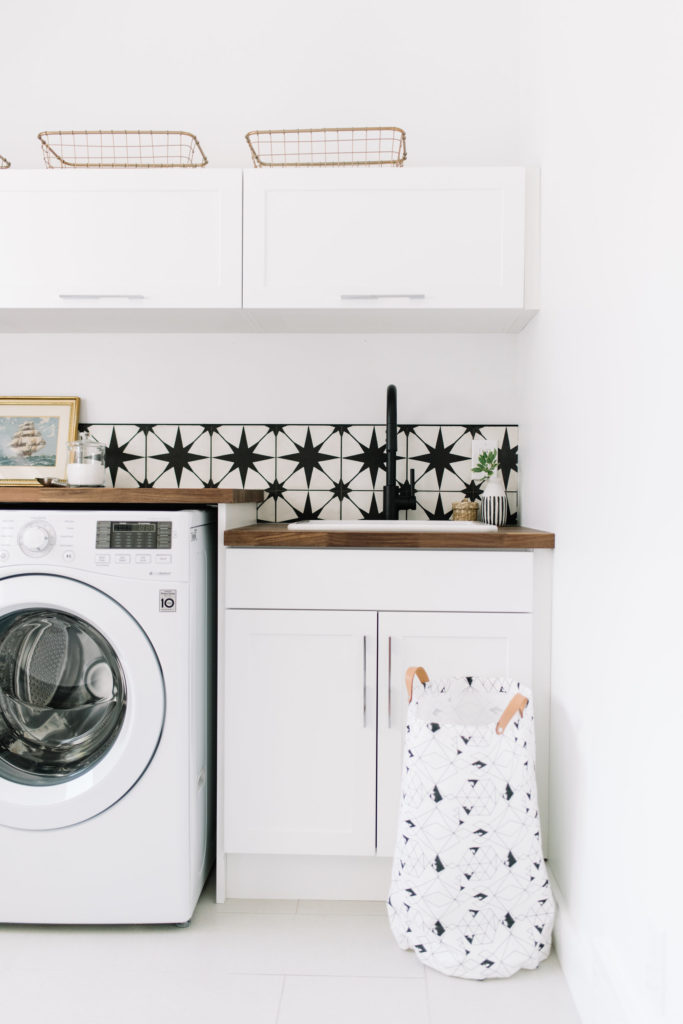
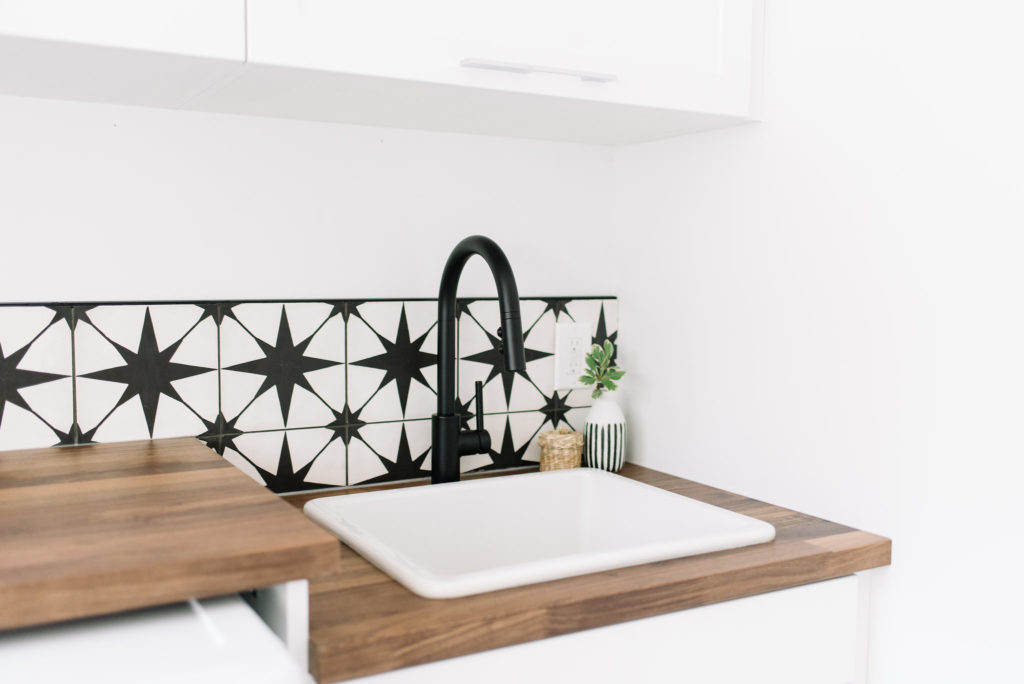
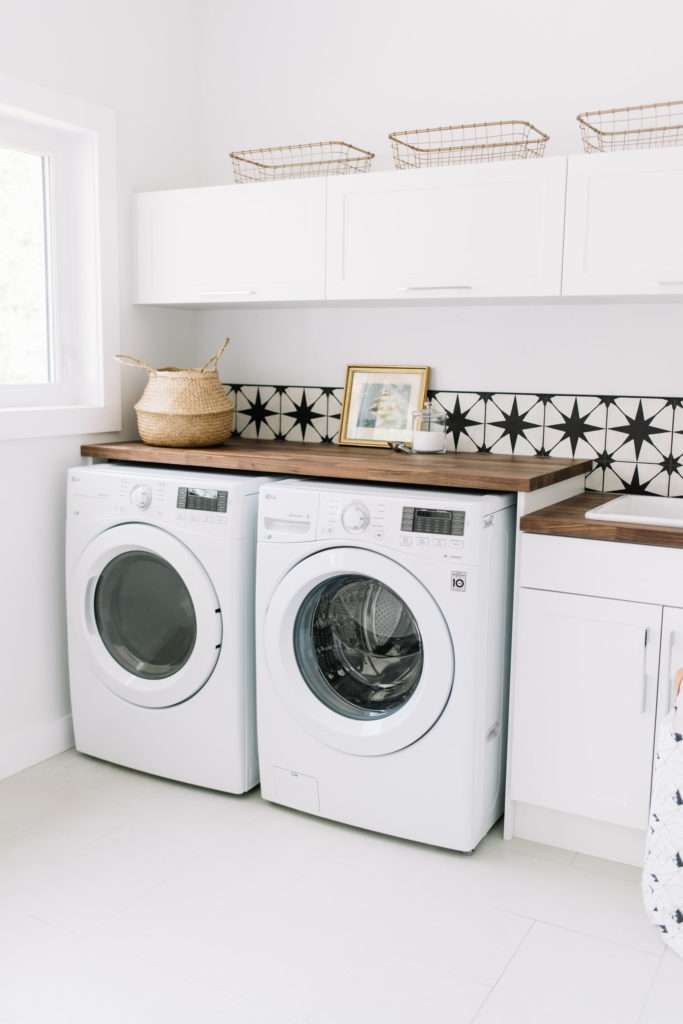 The new back entry walks up into the shared laundry and mud room – a spot that has really grown on me. After finishing the landing in the graphic black and white concrete tile, we had enough to do a decorative backsplash. Next to the walnut butcher block, it creates that a really nice contrast. If you haven’t picked up on it yet, I mixed two main metals throughout the home (chrome and black) with brass being an accent in certain spaces. I absolutely love the combo – especially here! Just a small pop from the wire baskets and frame makes my heart happy!
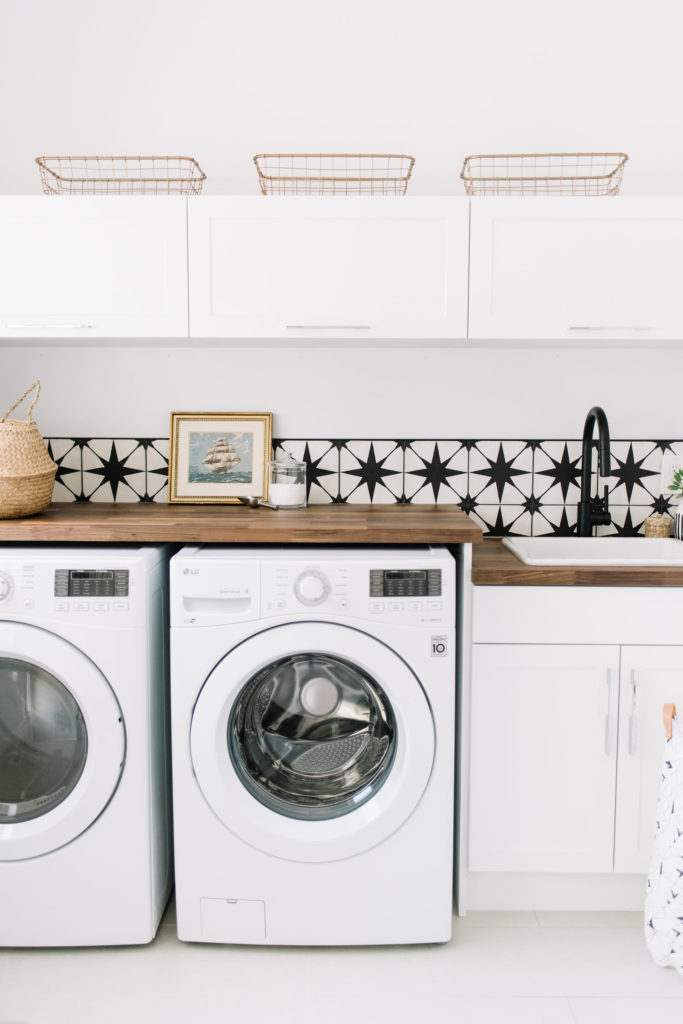
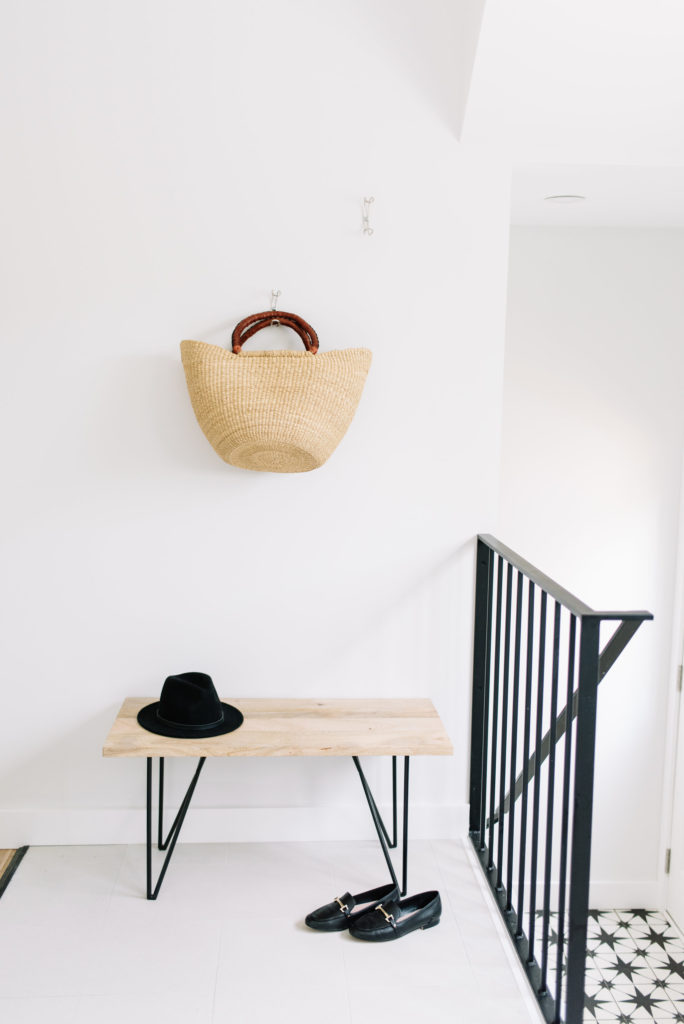
 We installed two chrome hooks from Anthropologie for day to day use on the opposite side, but there’s plenty of wall space to add more. I think this spot works perfectly for a bench and some extra storage baskets. And check out that railing!
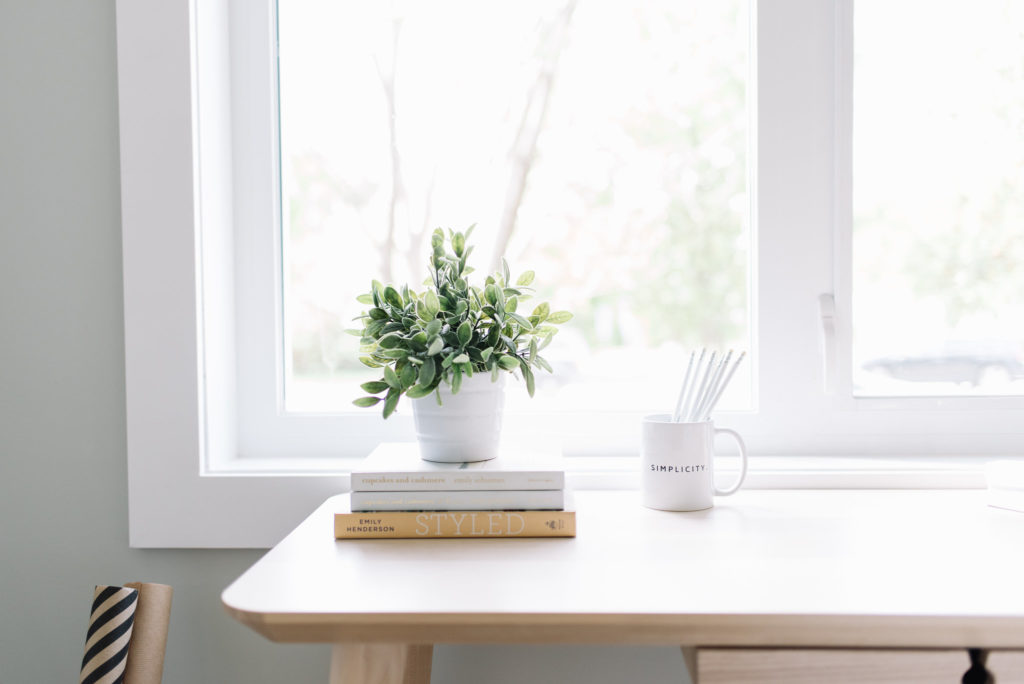
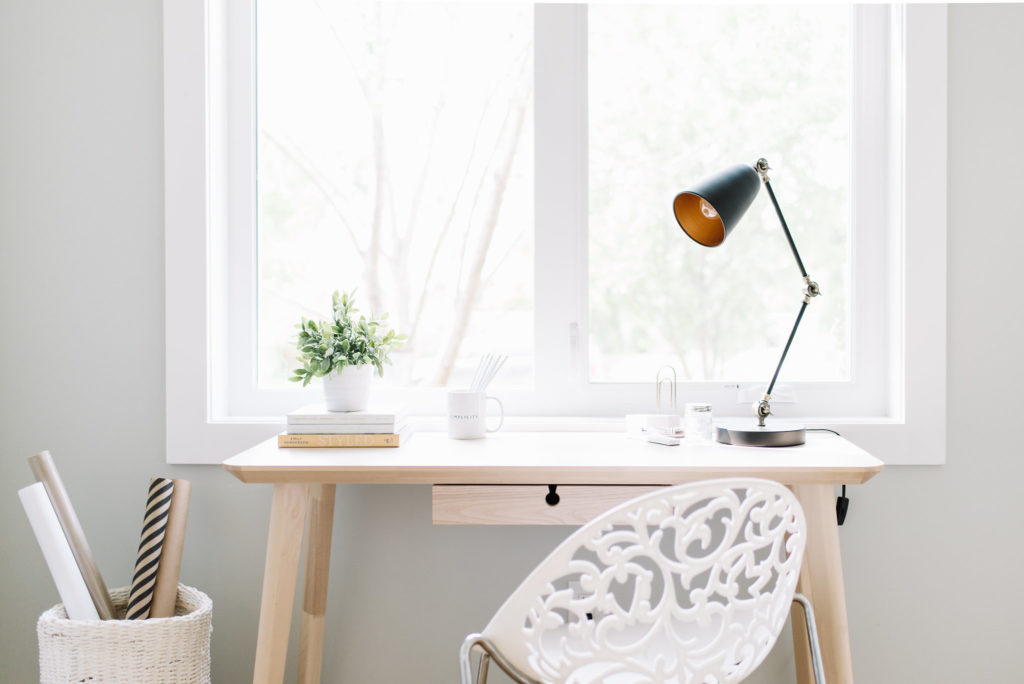
| The Office |
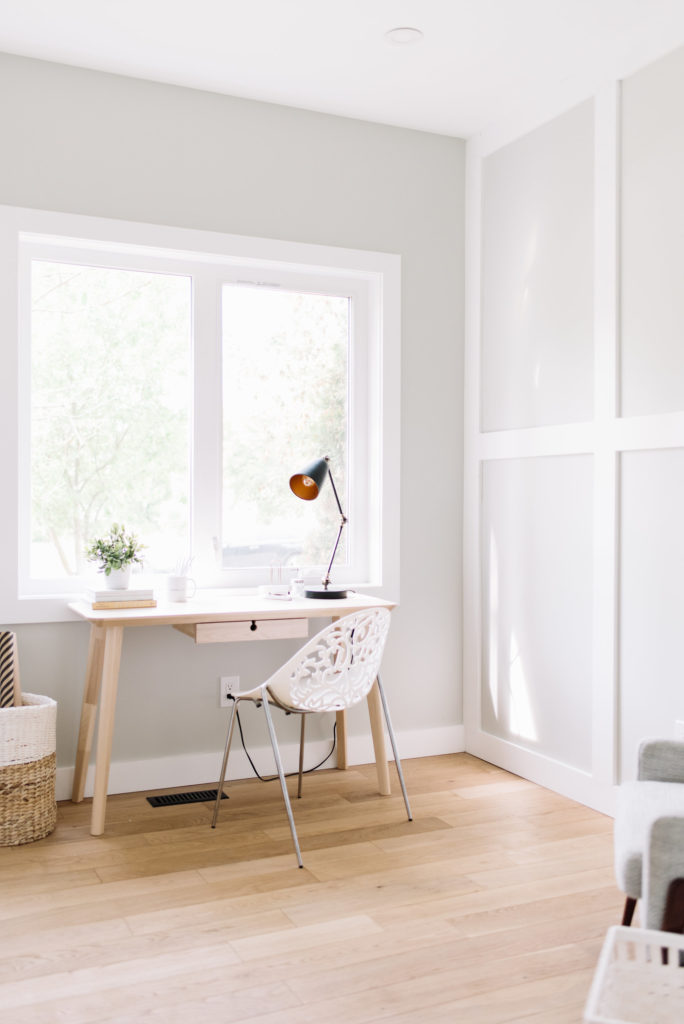 After reimagining the layout, we had some space that we thought would be perfect for a smaller office area. We changed it up and painted the rooms in one of my favourites – Grey Owl by Benjamin Moore and then added some trim detail to the one wall. With all that pretty light streaming in, I would definitely get some work done in here!
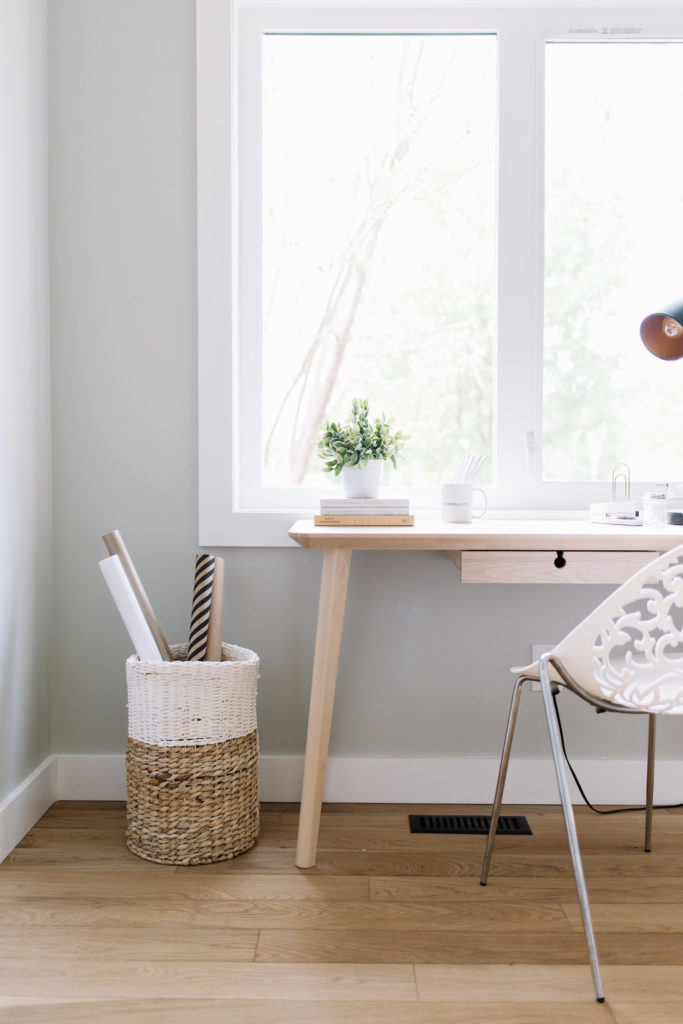
 A glimpse of the closet and hallway before we head upstairs to the brand new second storey!! Not a bad view hey?!
| The Landing and Reading Nook |
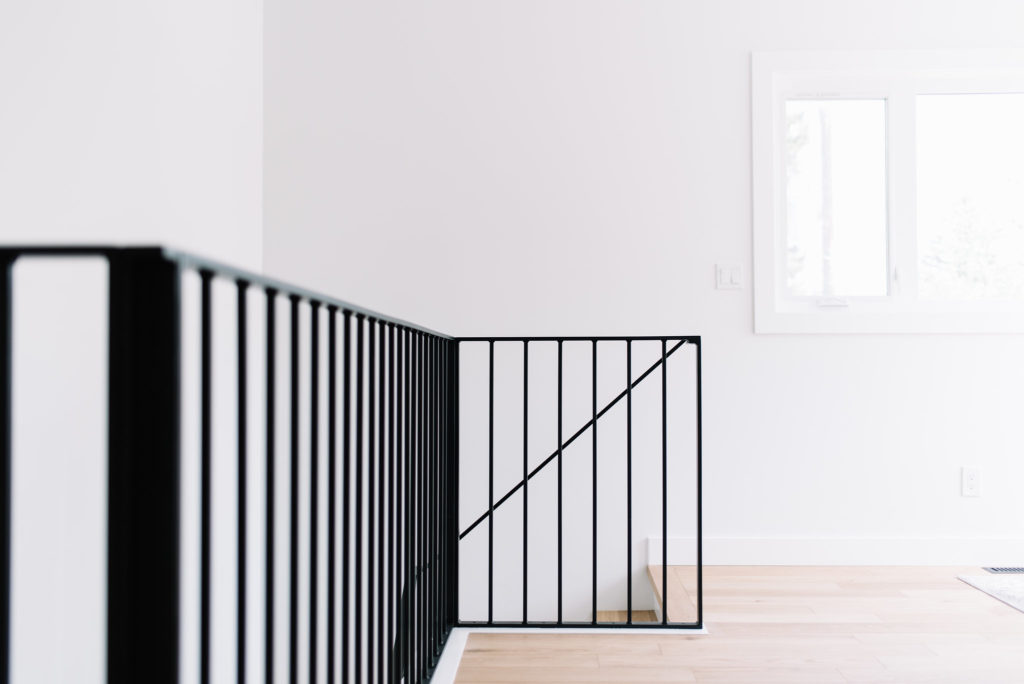
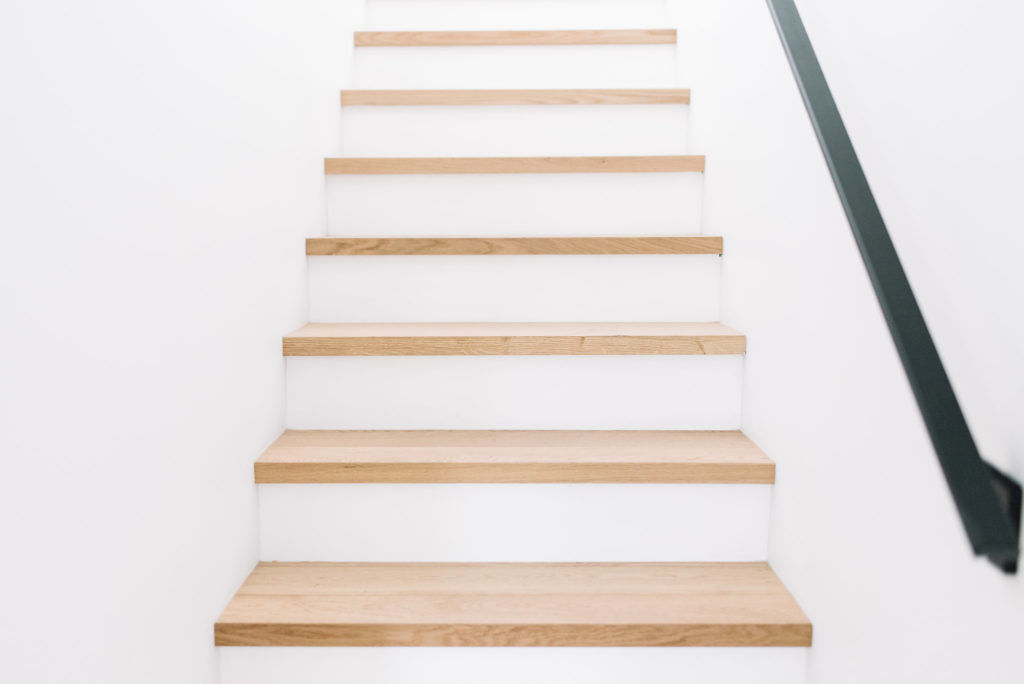 I know it’s a small detail but I had to nab a close up of this stair nosing. I love the squared off edge – so clean! Which ties into the linear lines of the sleek metal railings from our friend Bruce of Iron Elements. When we saw the finished product at our own Ravine House, it was a no brainer – he had to come work his magic on the Lady Laurier!
 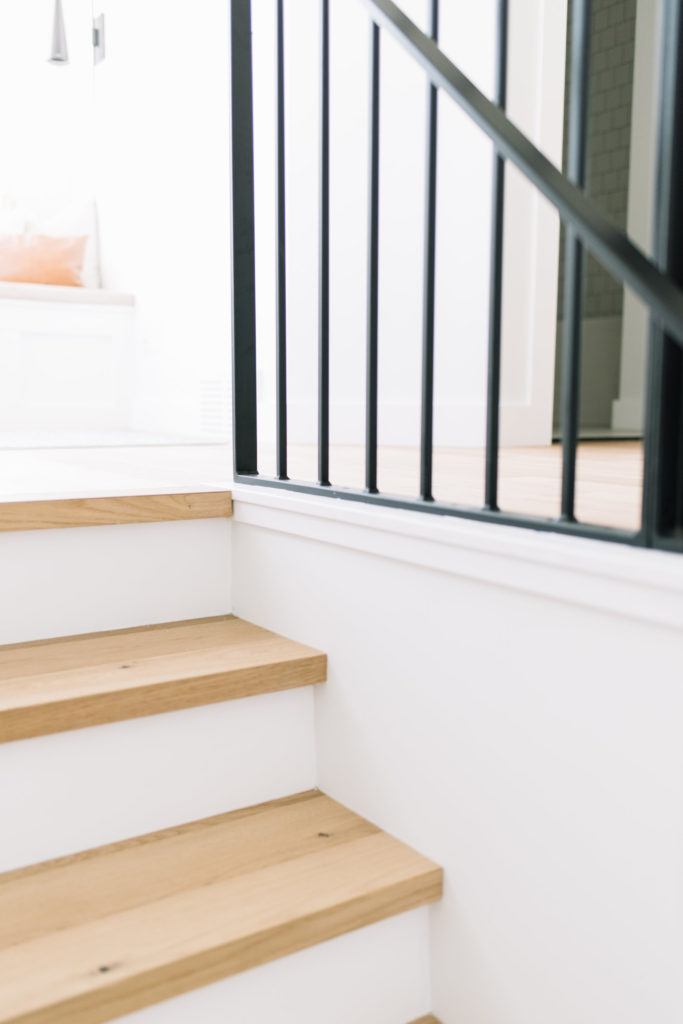 But before you get too excited about the staircase and railings, take a moment to let the calm wash over you in our beloved reading nook. It may not be the most grand but it holds a special place in my heart.
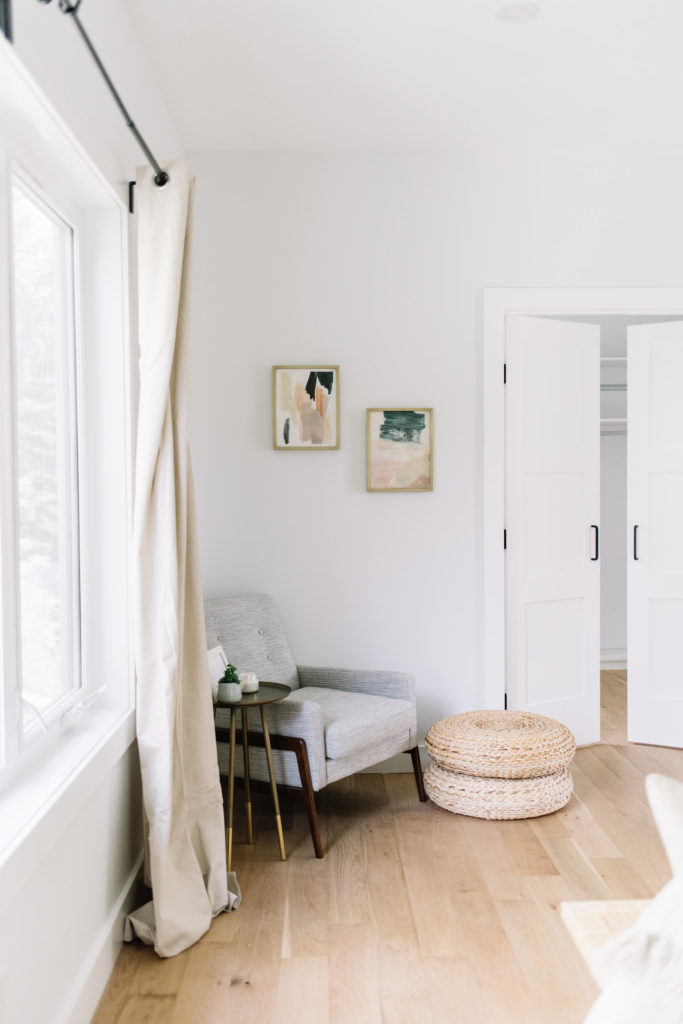
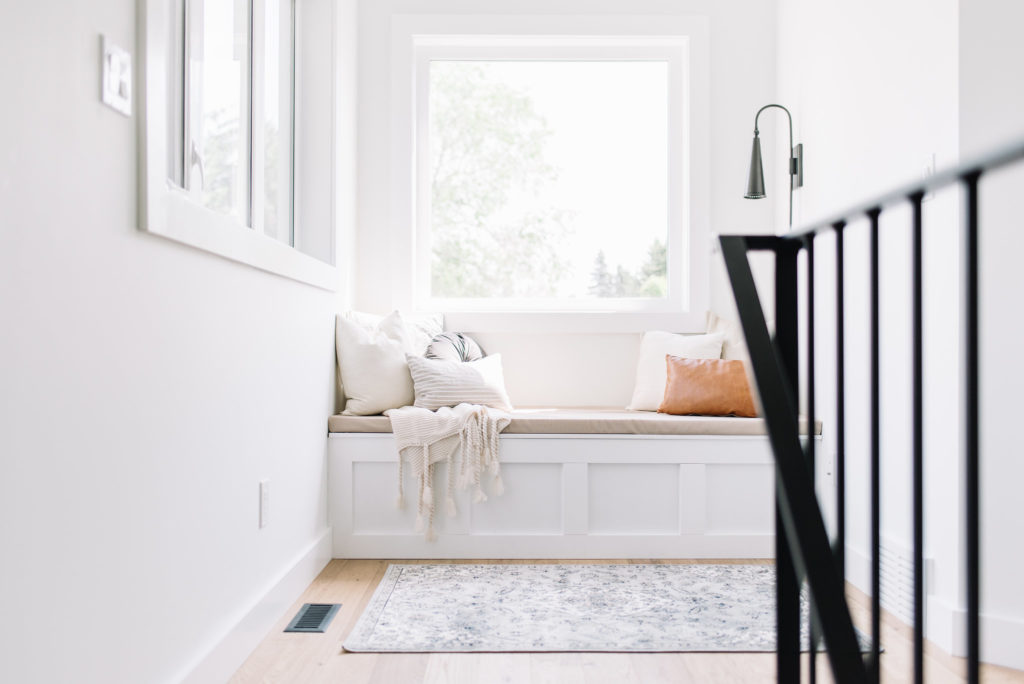
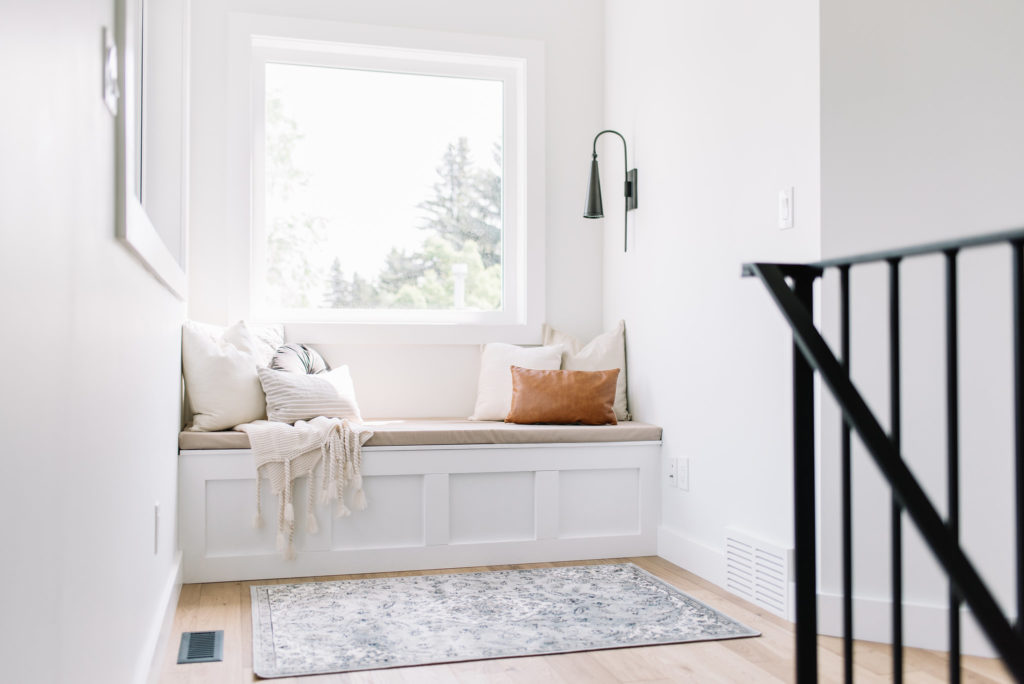
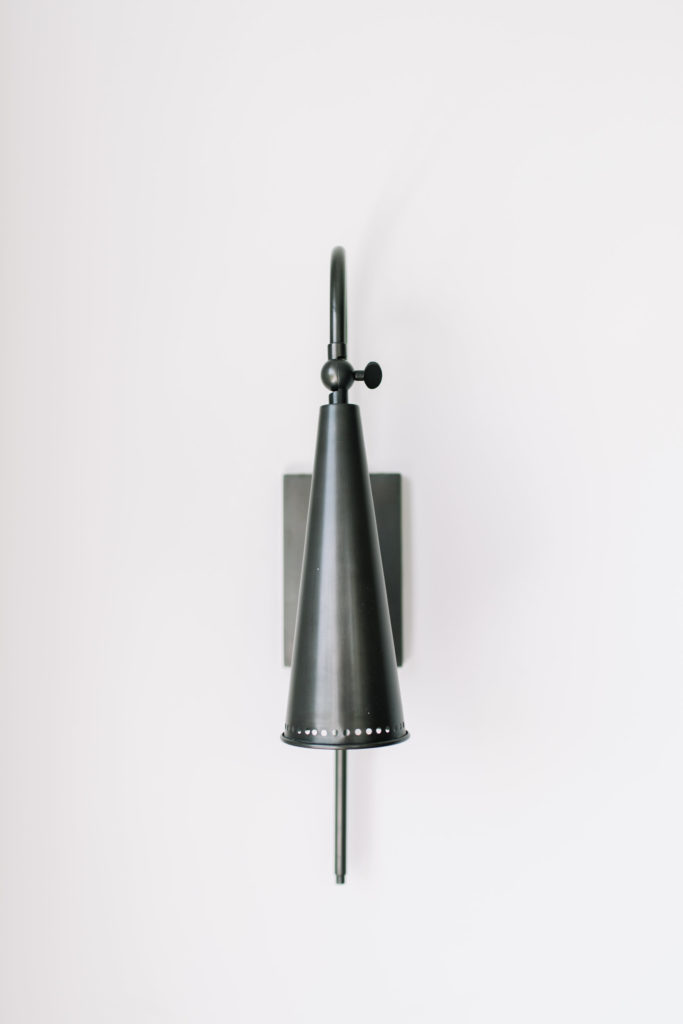
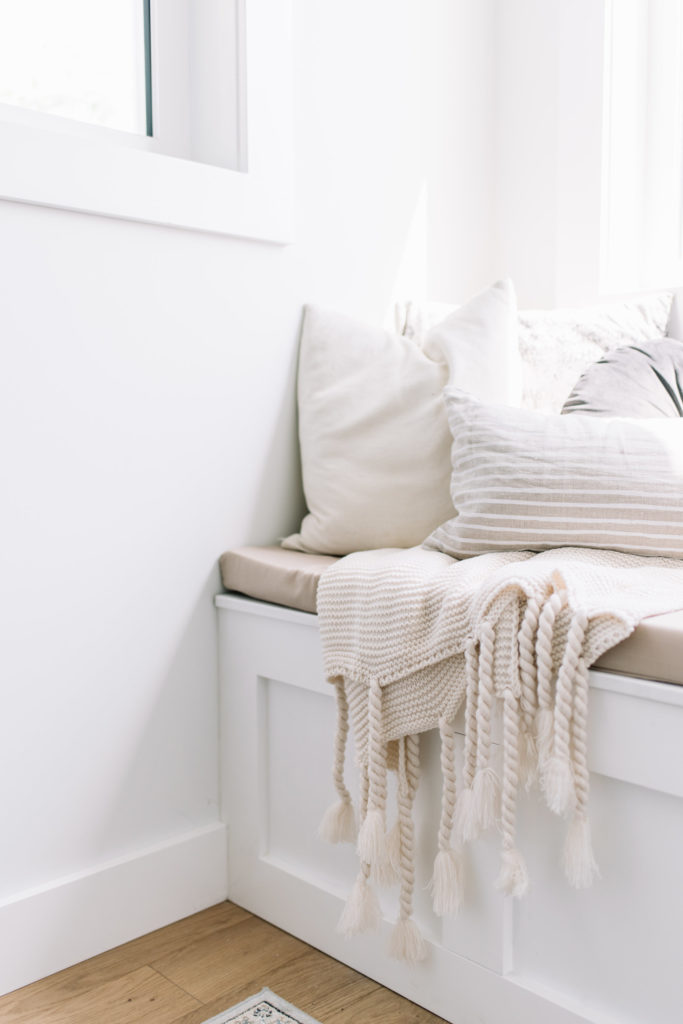
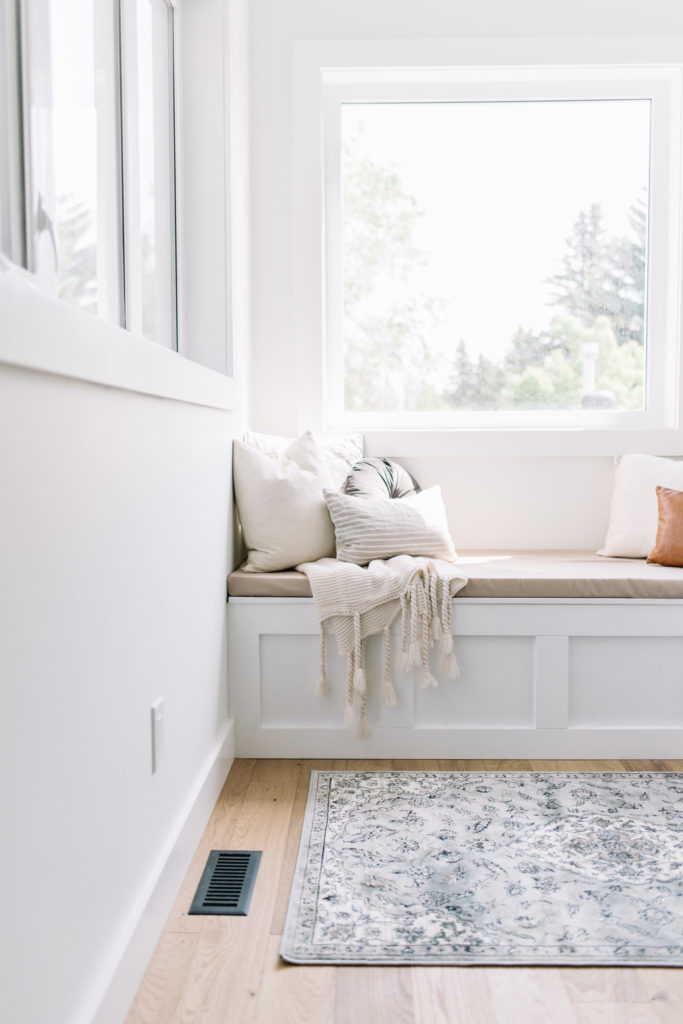 We designed the space with two massive windows that provide the most beautiful views and let in so much natural light. The bench itself can be lifted for storage but with a custom cushion (that my mom sewed!!!) and lots of throw pillows, it really is all about the cozy factor! The unique wall sconce can be angled to throw just the right amount of light when reading late into the night.
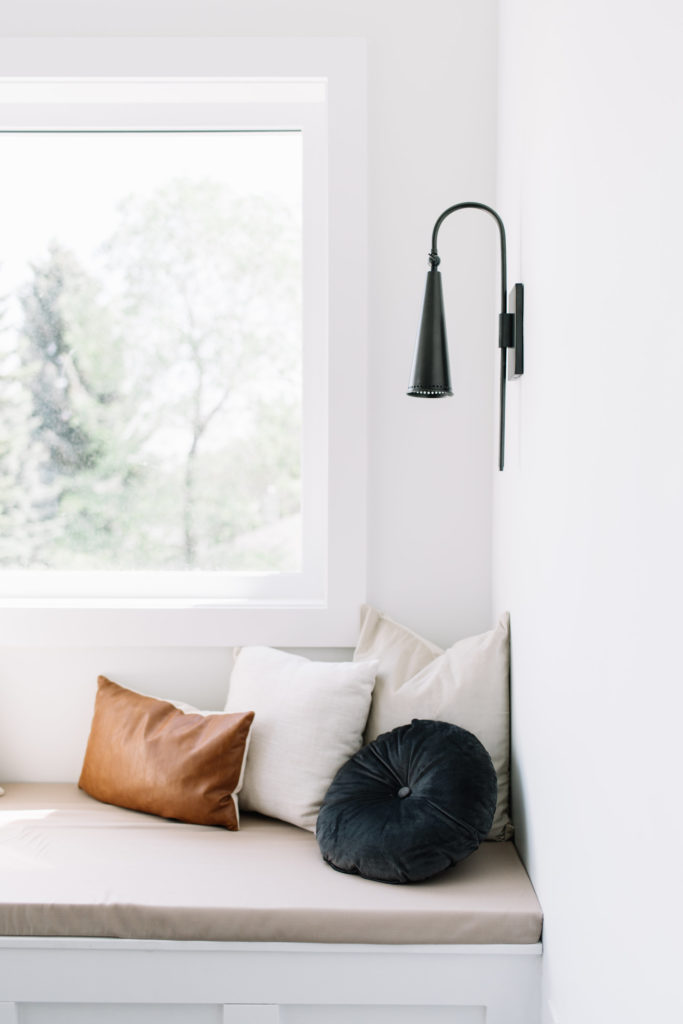
 Now how about that view from the nook…nothing beats a custom metal railing with this stunning chandelier!!!
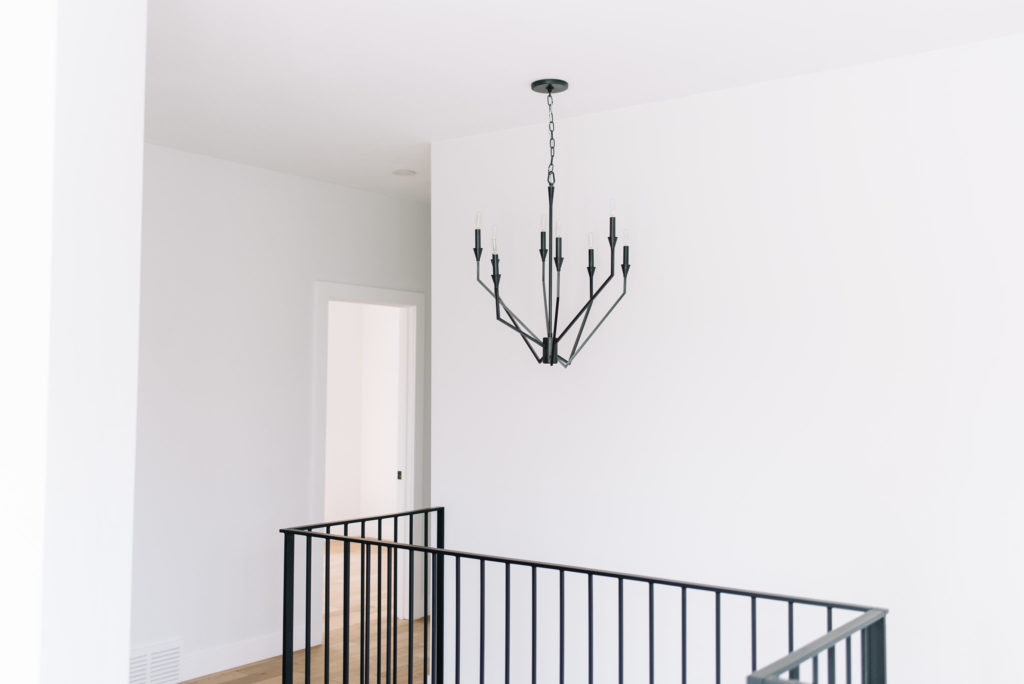

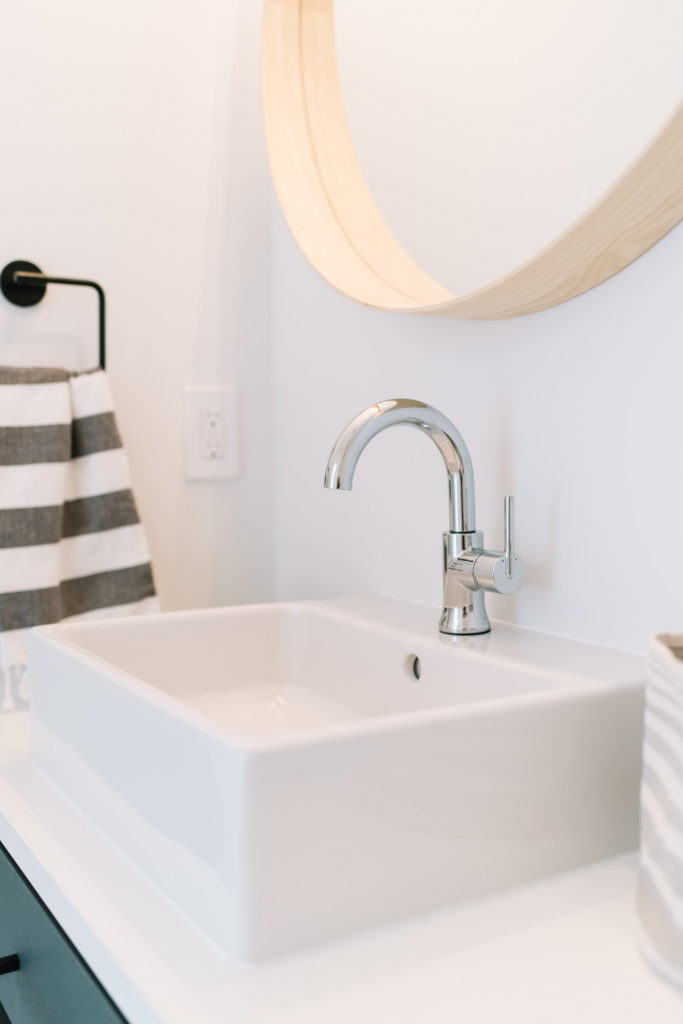
| The Kids Bathroom |
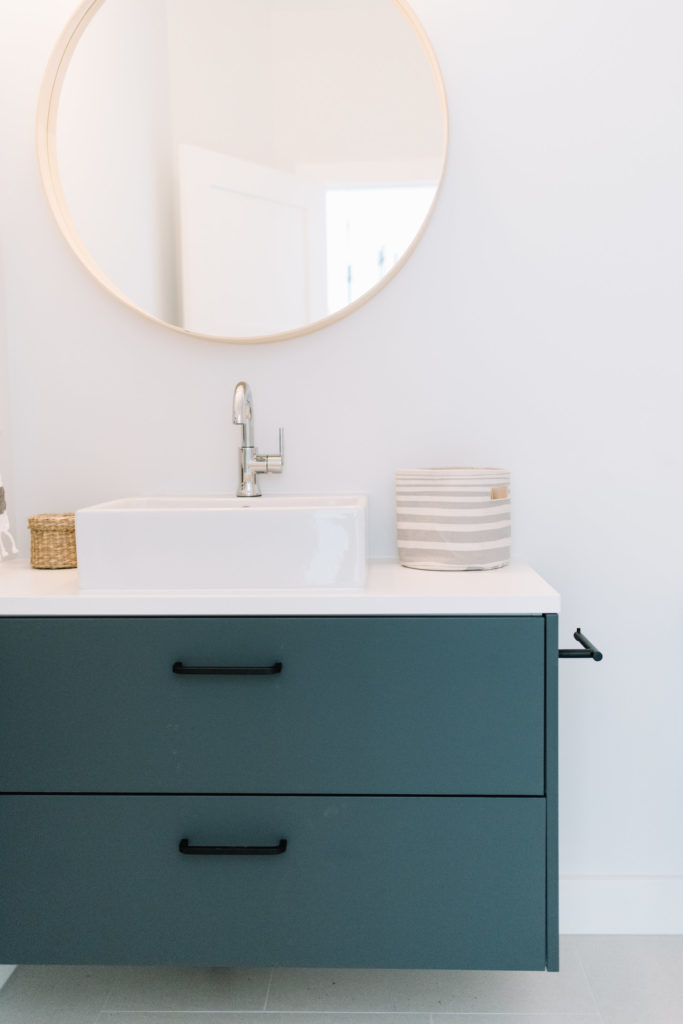
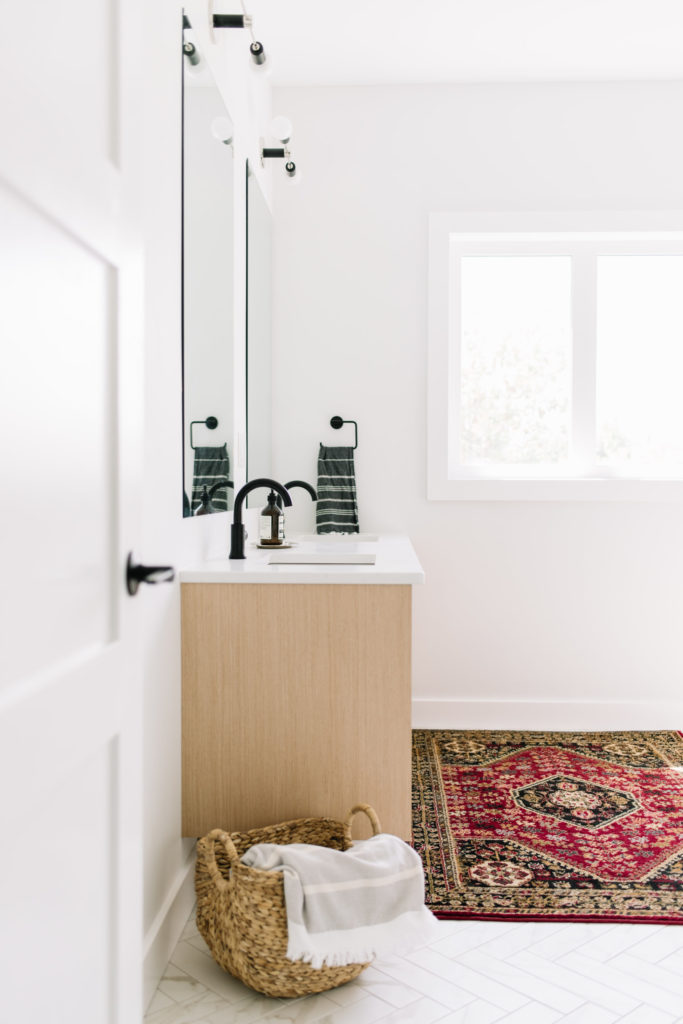
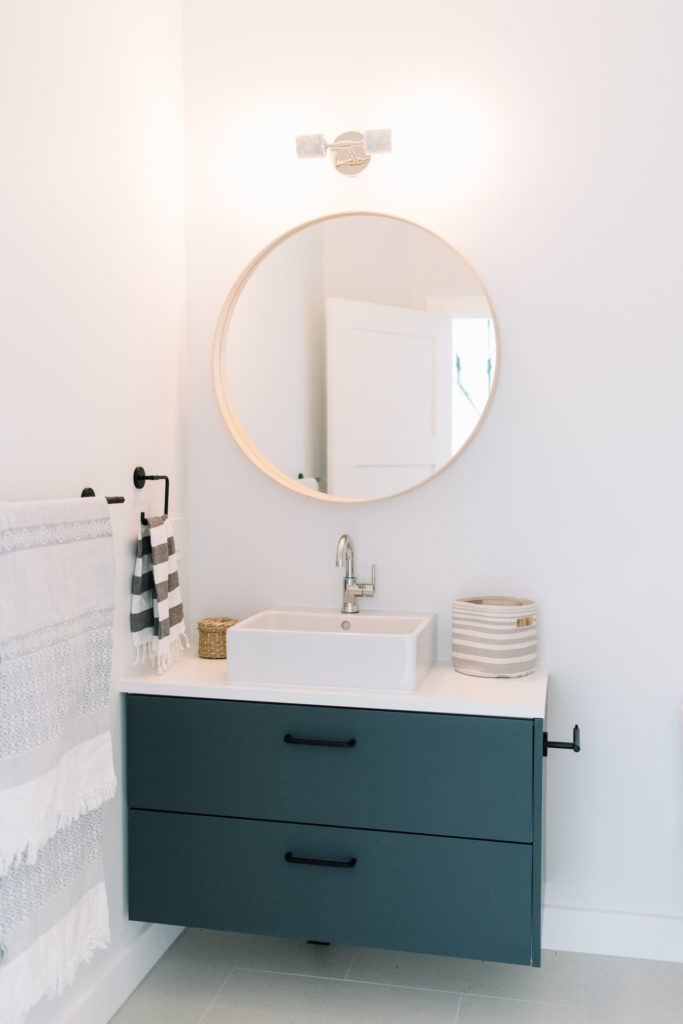 From the beginning, I called this the kids bathroom but I still wanted it to have a timeless feel. The vanity has the same grey fronts as the powder room and yet, in this light, it takes on a bit of a greener hue! Funny how it all comes full circle right?! I mixed chrome and black metals again in this space but went for a softer round mirror in an ash wood. If you’ve really been paying attention, you’ll notice that the metals are opposite to the main floor’s – chrome faucet and black hardware here 😉
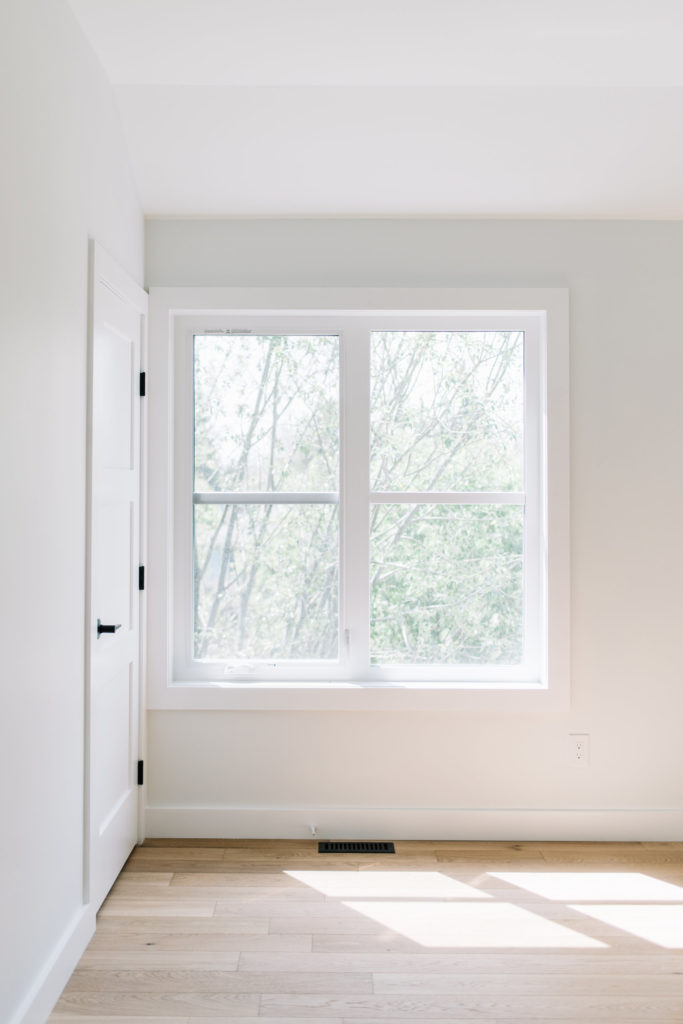 One of the kids bedrooms…beautiful light coming through…
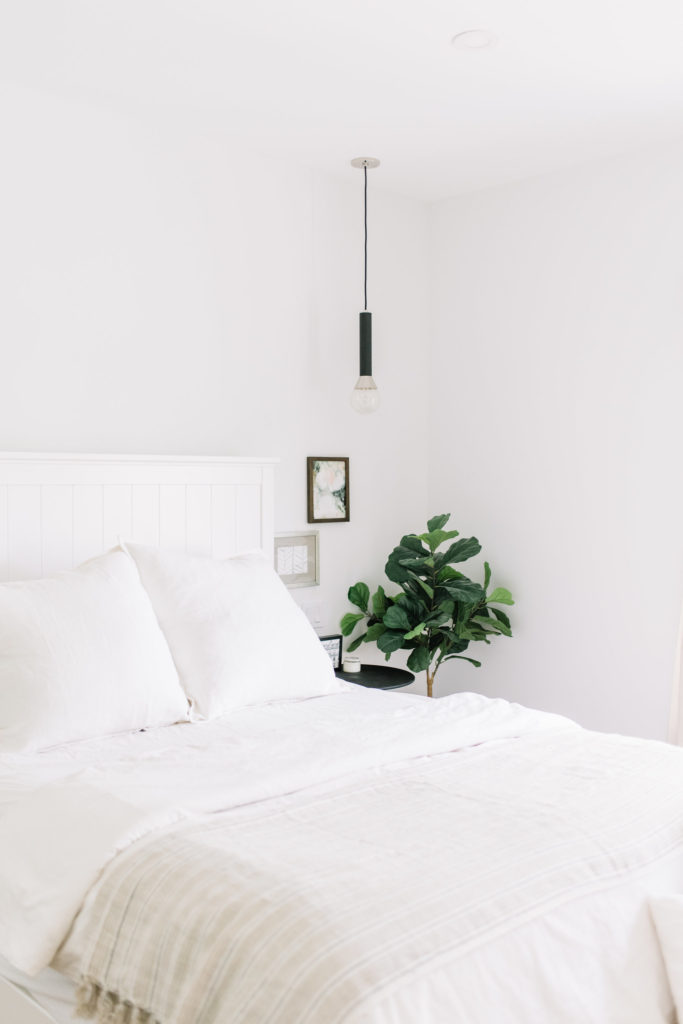
| The Master Bedroom |
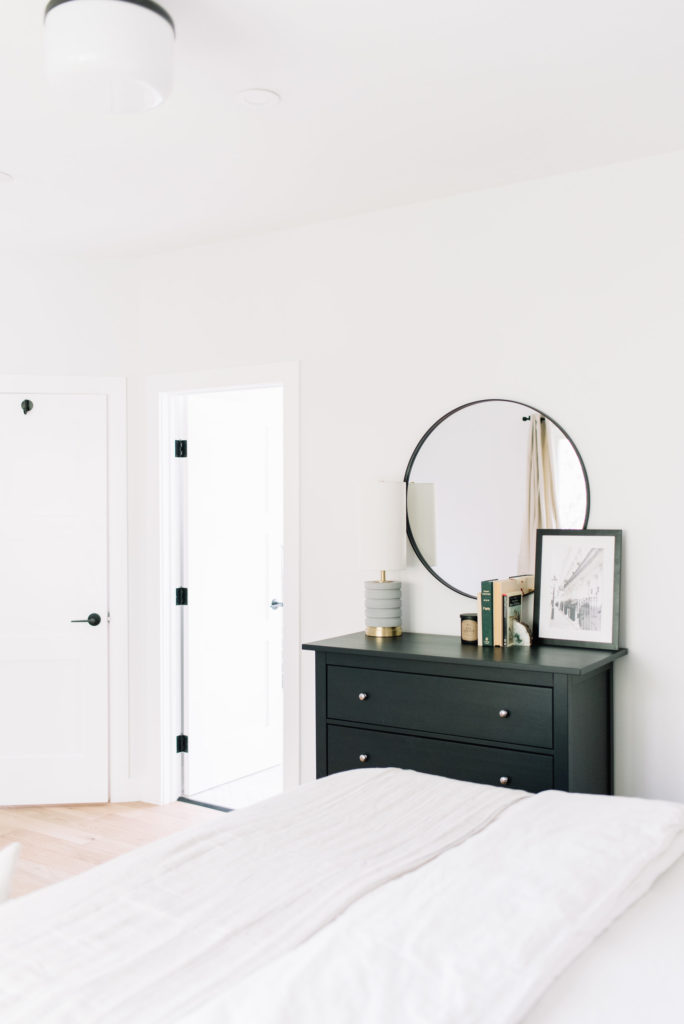
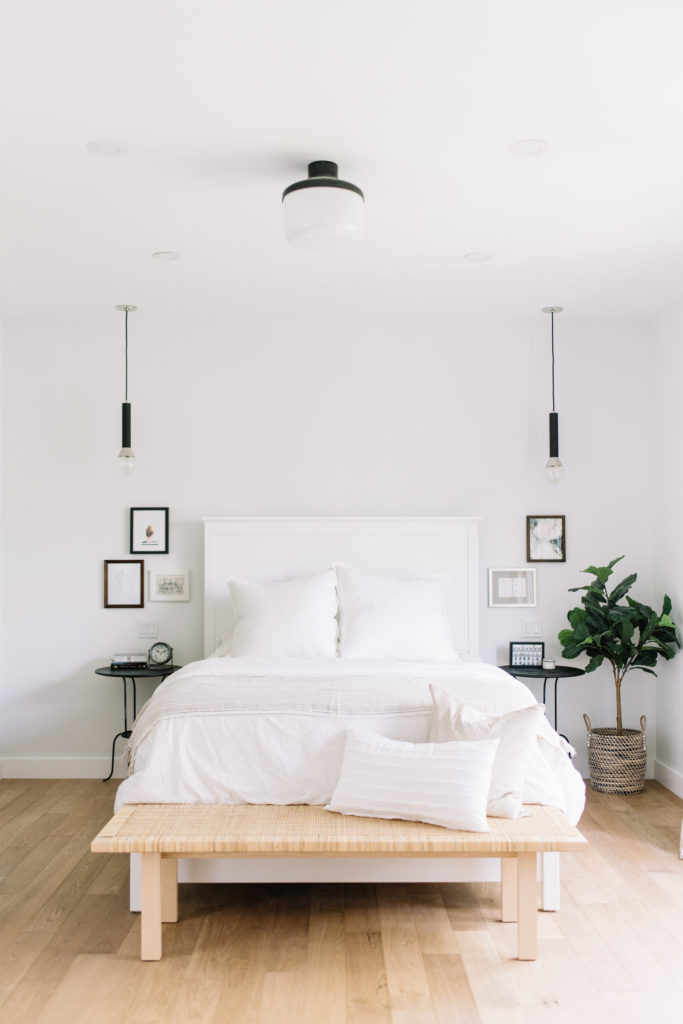 What happens when you have the biggest master to stage? You DIY a lot! I had to work on a pretty strict budget to create this space and so I got to painting – dressers, side tables, pictures…the works! Absolutely worth it though to see the space come together. I was initially worried that the lighting would feel too cold but with the added furniture and textures, they work nicely.
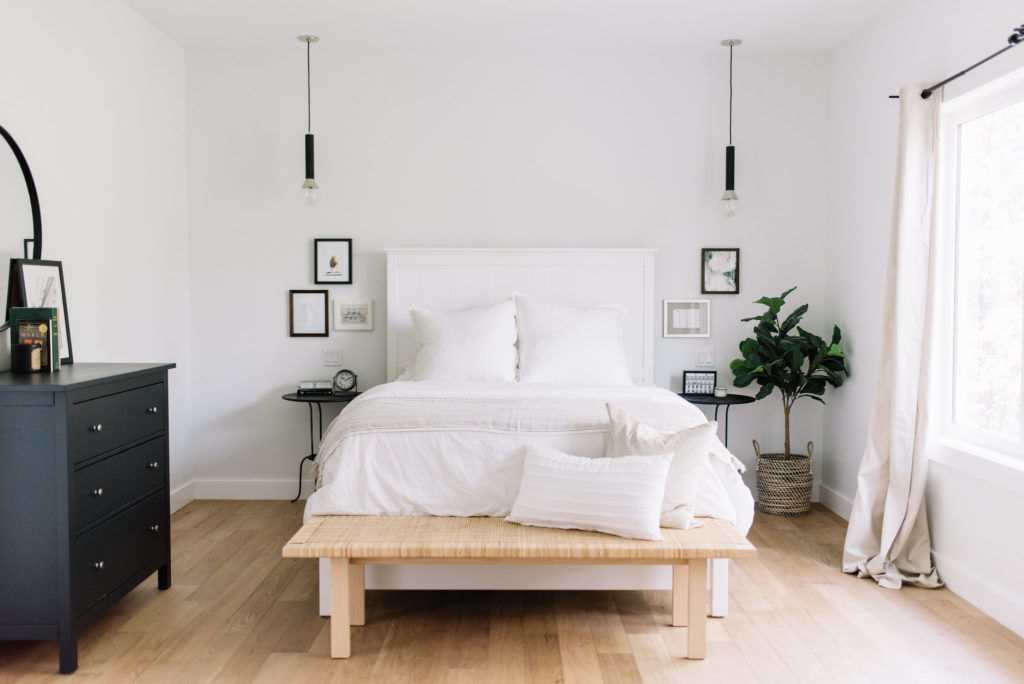
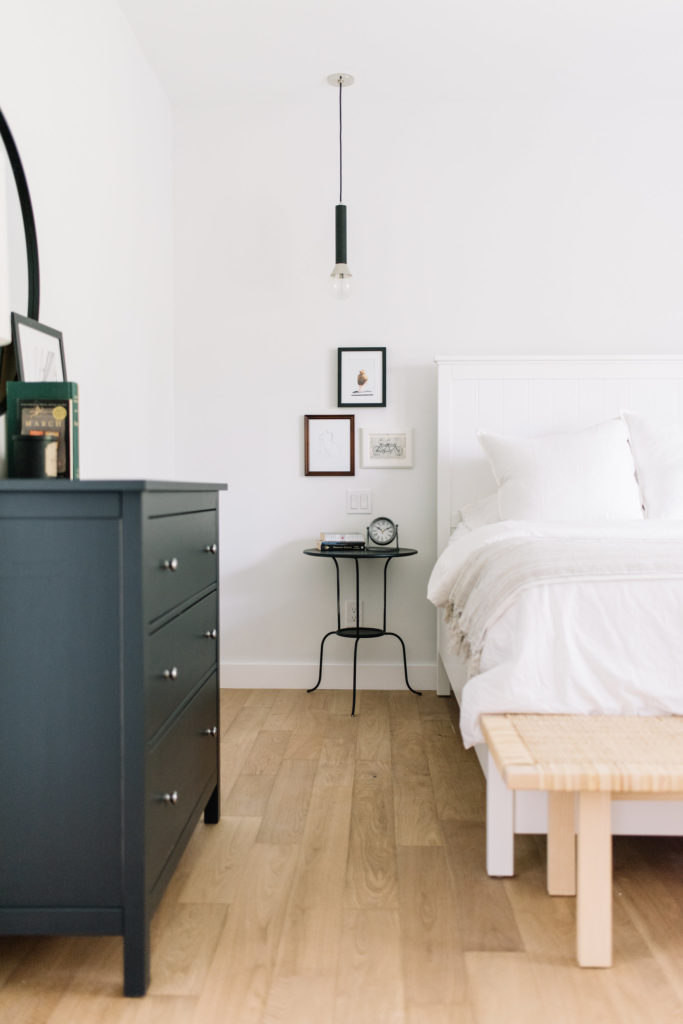


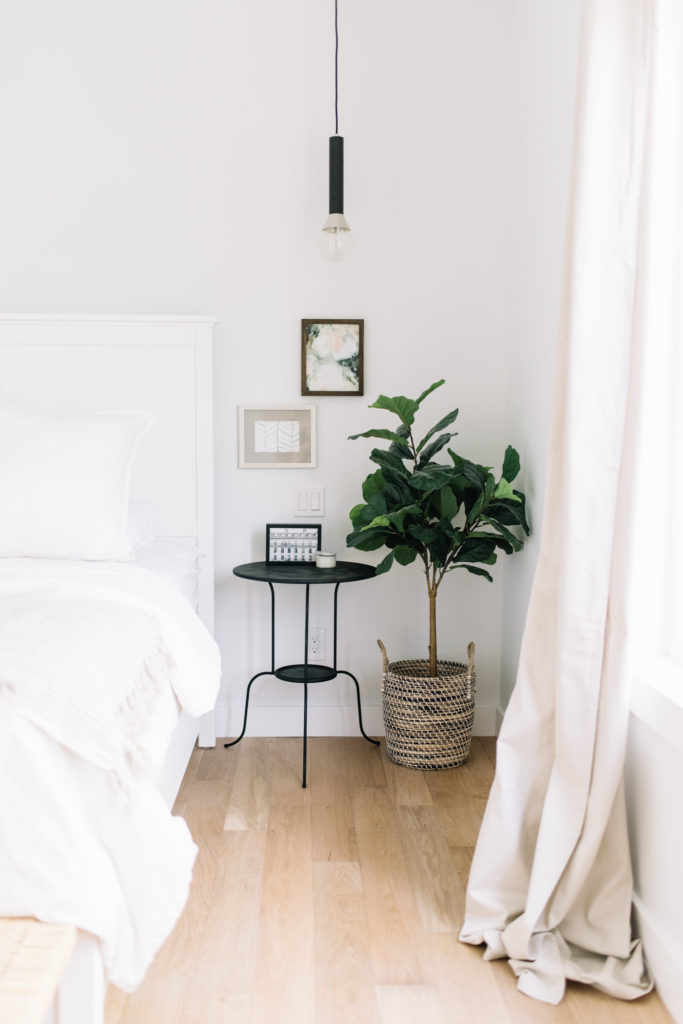 I stumbled upon a great company when I was planning this space – Pom Pom at Home. Their incredibly luxurious Euro shams and striped throw were the perfect way to soften the bed and add some neutral accessories. You will definitely be seeing them again in my own bedroom…
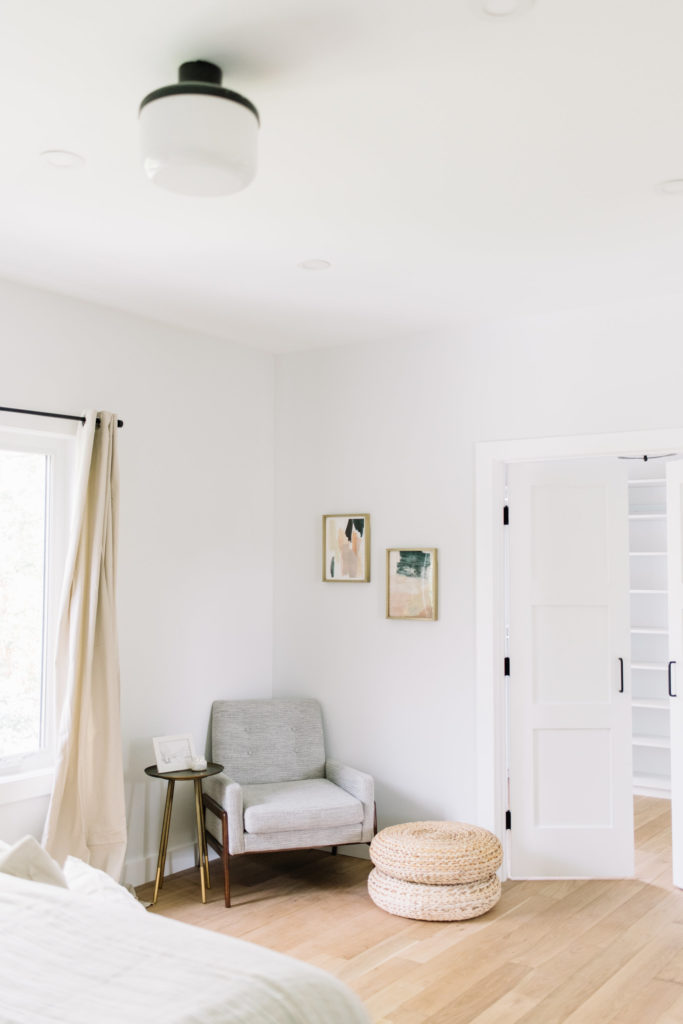 On the other side of the master is the large walk in closet and the door that leads into the master ensuite.
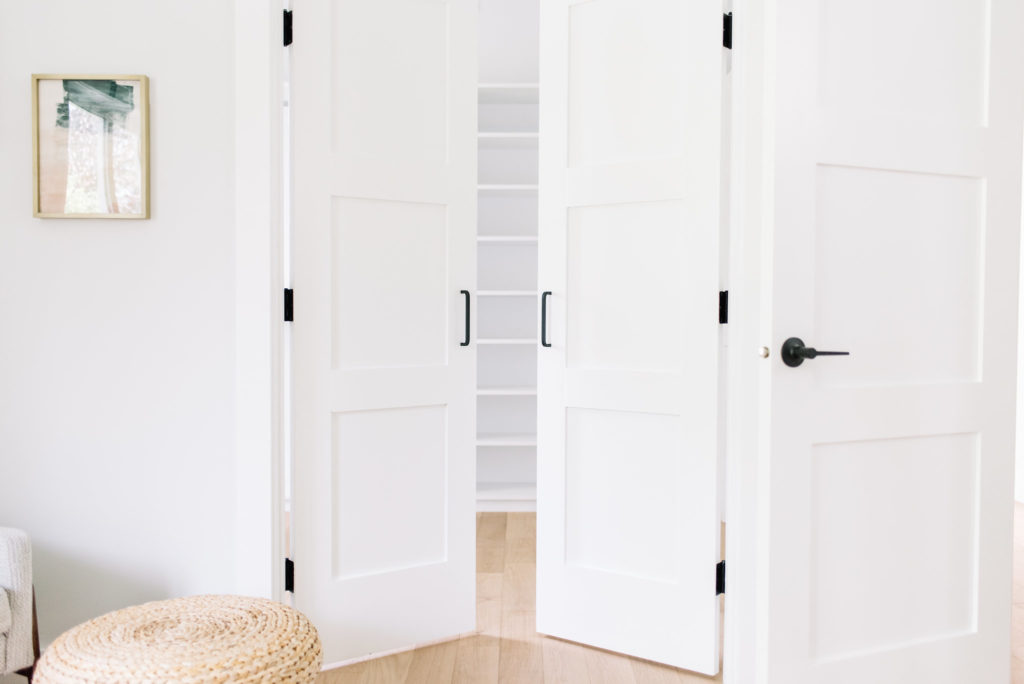
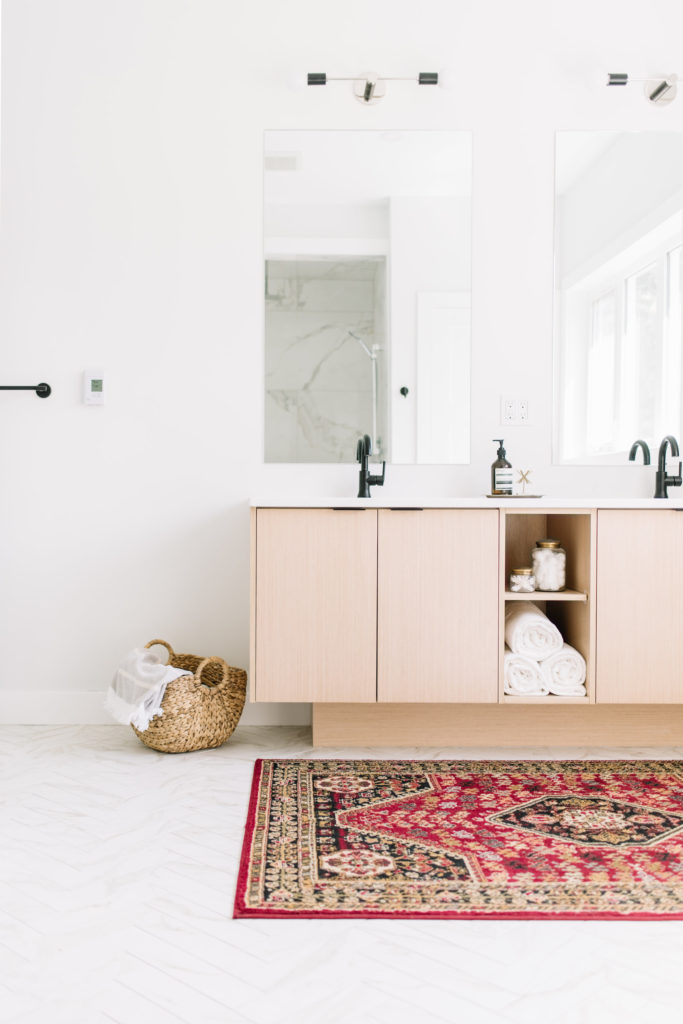
| The Master Bath |
 I hope you’re still with me! Because our last space is a stunner…and a lot of hours went into getting it that way. The tile choices are so beautiful in my opinion, but they weren’t easy to install…the team did such an incredible job! But first, let’s talk about the vanity area…
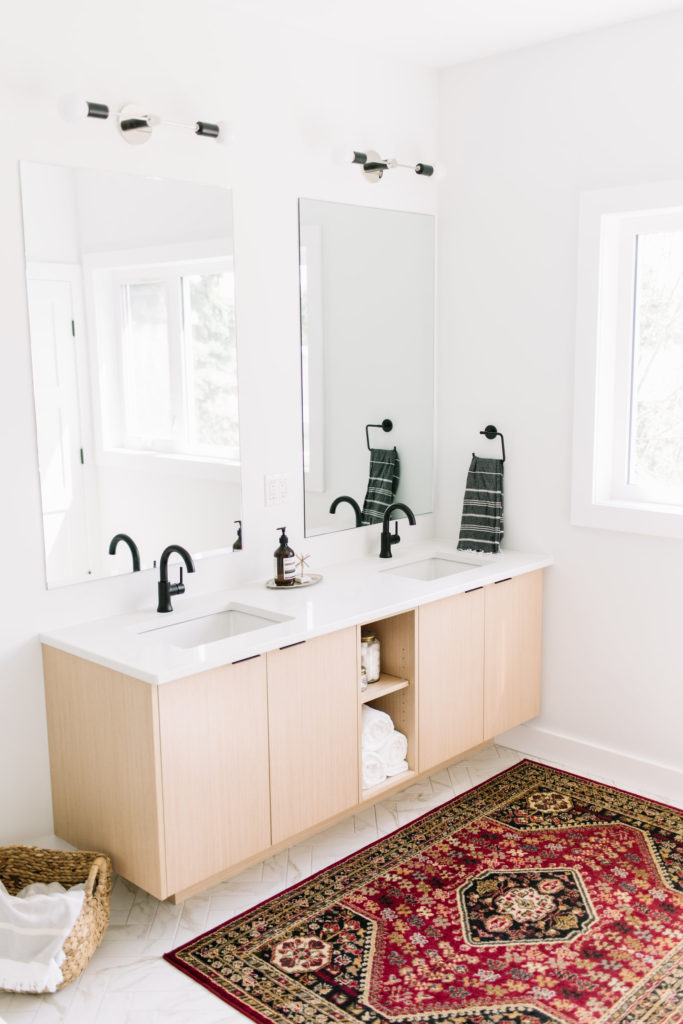
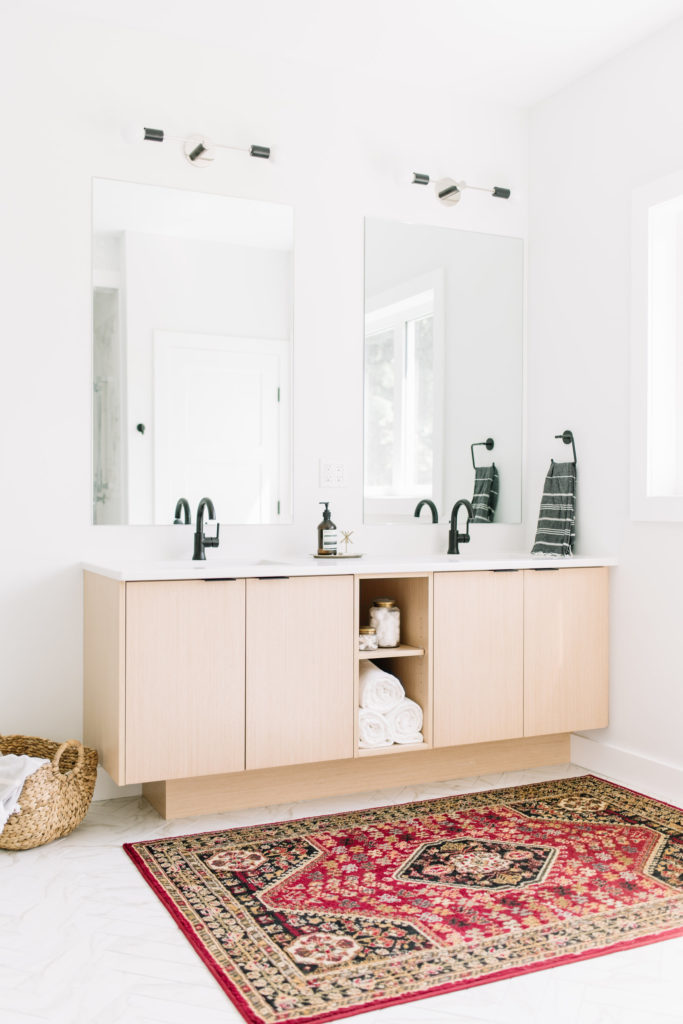 I wanted the master suite to feel extremely luxurious and yet still tie into the rest of the home. So with the help of a cabinet company here in the city, we designed this light oak double vanity similar to the islands in the kitchen. I wanted it to float but we compromised with a recessed toe kick that gives the illusion that it’s floating (not many people are crouching down to get kick ass angled shots like Tracey is lol). Again, I mixed the chrome and black metals together, with the vanity lights being my main source of inspiration. I love how delicate they are, with that modern flair. Black Trinsic faucets (seriously my favourite line you guys!!) and very subtle black pulls contrast nicely against the light wood and white quartz countertops.
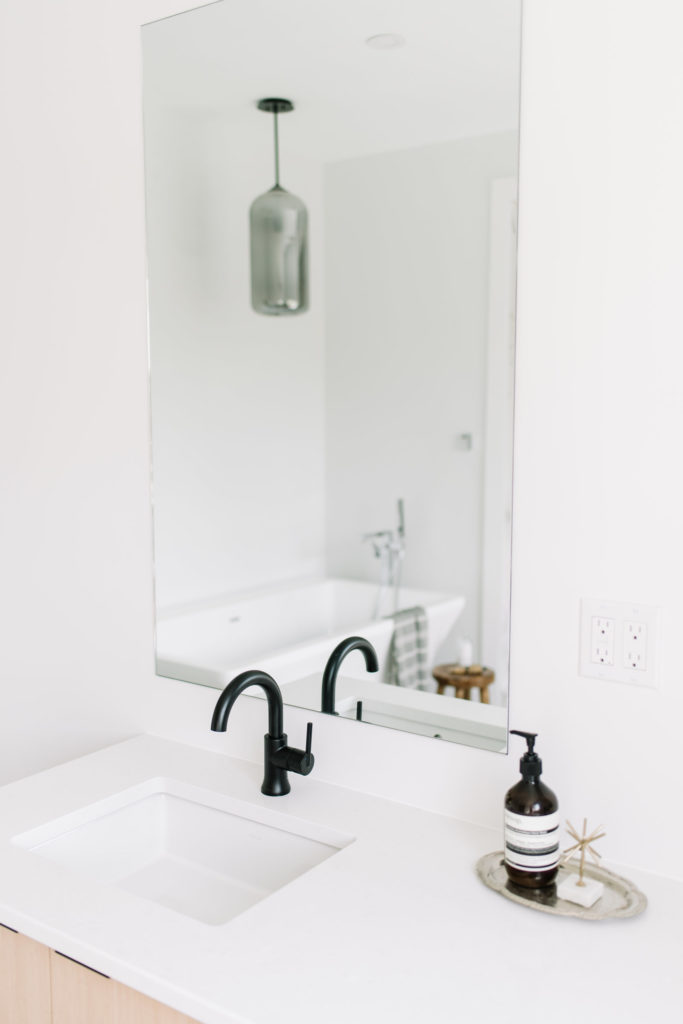
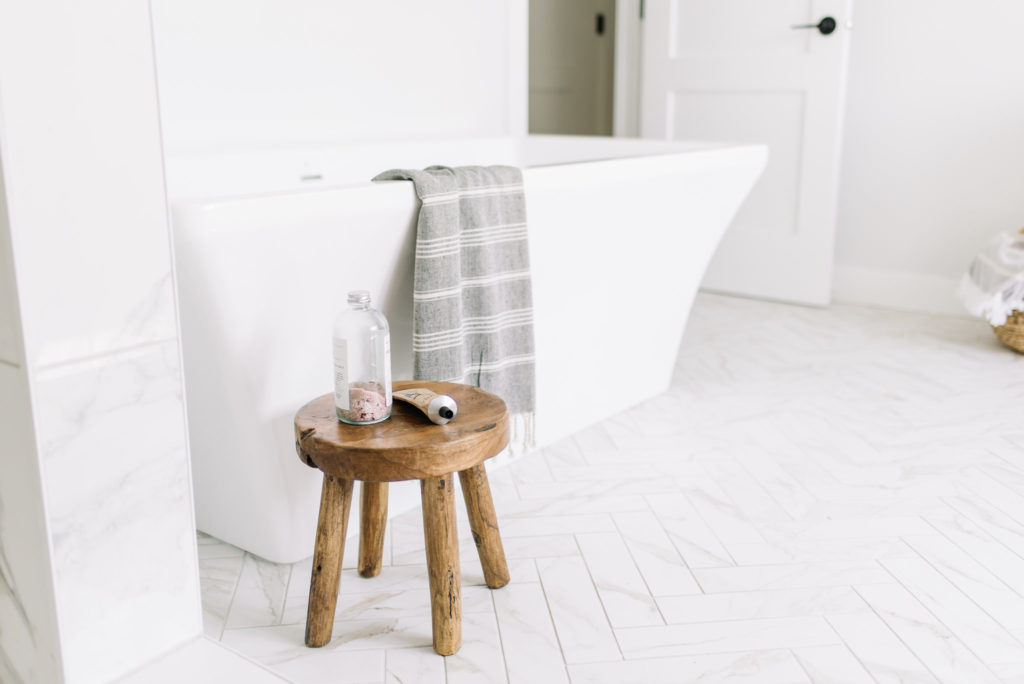
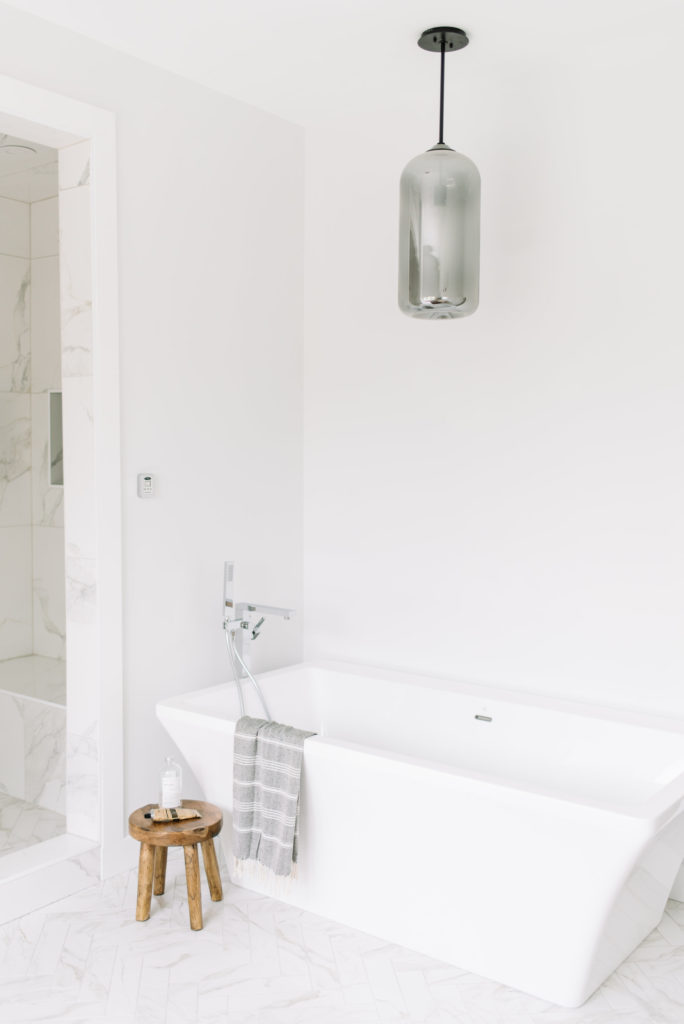 On the other side of the space, we made sure to create a large enough area for a free standing tub and a show stopping pendant above, of course. I love the metallic sheen of this fixture and the shape…I mean c’mon!
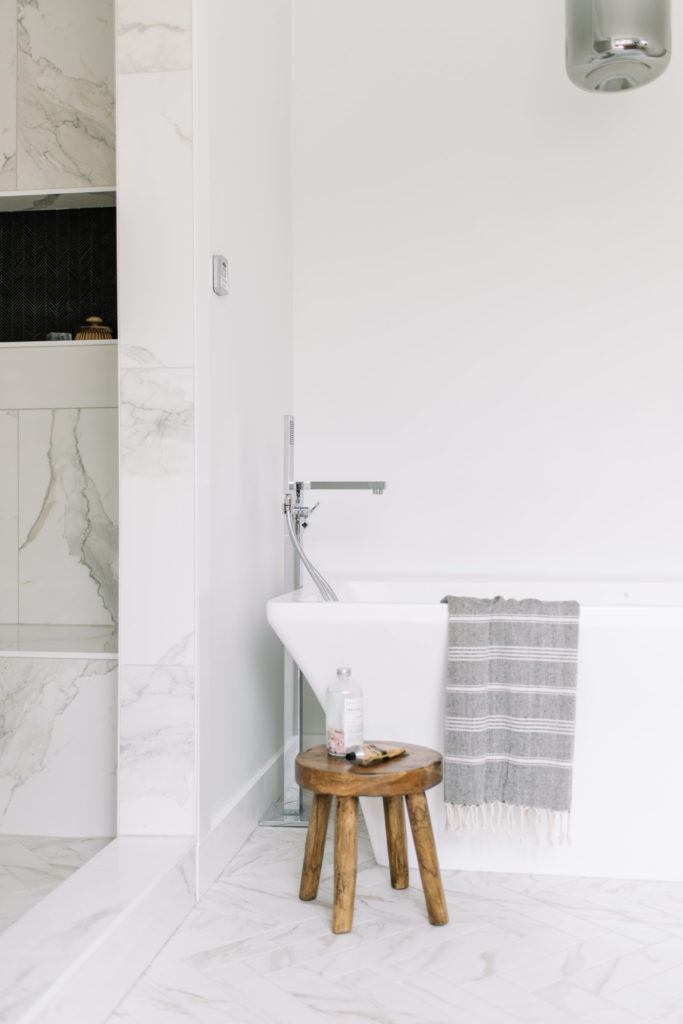
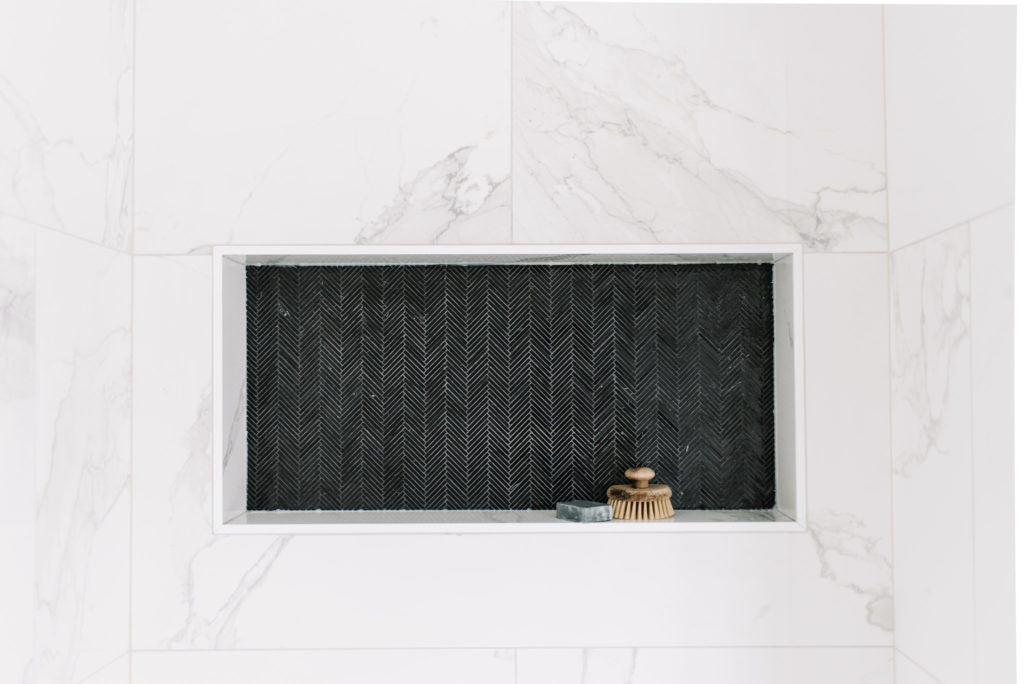 Inside the steam shower, I chose a black herringbone feature tile to tie into the pattern of the floors. A dark grey grout allows the lines to pop just a little bit more, making it the perfect focal point in the shower.
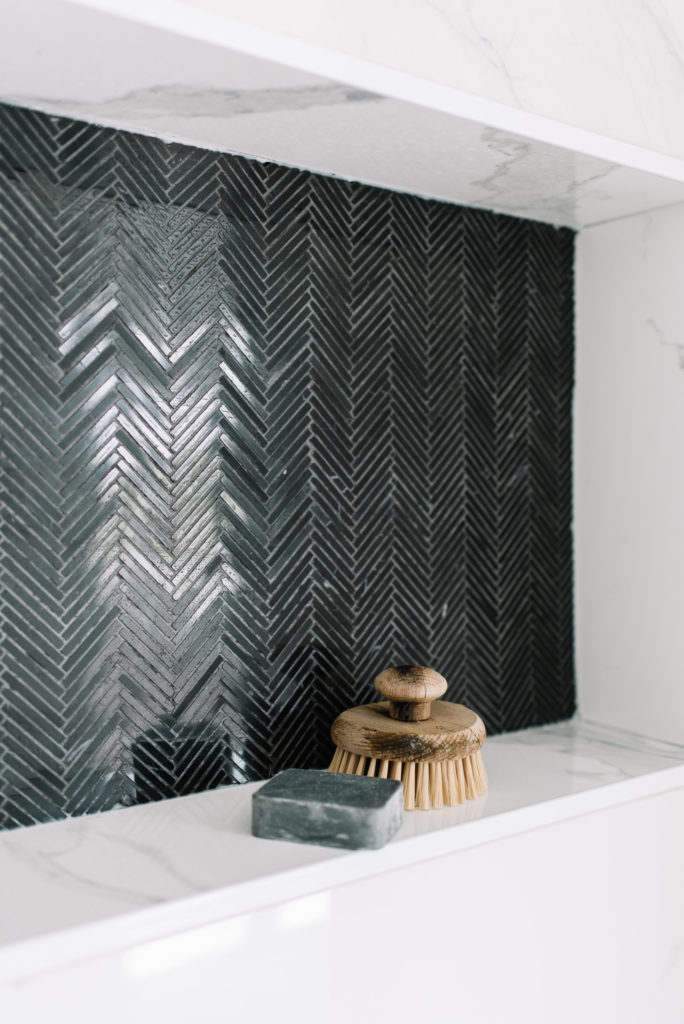
Wooooo! We’ve come to the end! If you’re still reading this far (good for you!) then bare with me for one more minute while I make some final important mentions. As you can tell, this project was a massive undertaking with a multitude of people coming together to build this home. It started with our partner in crime Dave helping us dream & scheme and remain such a great teammate through to the end. We had wonderful workers and trades and suppliers all rise to the Lady’s level – thank you. Without Ashley’s bold ideas and exceptional drawings, the city would have laughed us out of the building. Tracey made the place shine with her incredible photos. Family, friends, followers…the support means the world.
But my husband…my husband deserves every bit of recognition and praise. He went above and beyond, kept everything on track and worked tirelessly to see this home come to life. He trusted me and the vision I had for the Lady and became the glue that held everything together. I am so proud of him.
XO
| Sources and Further Details |
Hardwood Floors – Heritage Plank Oak Monterey sourced from Timber Town | Paint Selections – Decorator’s White and Grey Owl (office) by Benjamin Moore | All Faucets & Bathroom Accessories by Delta | All Lighting by Hudson Valley, Mitzi Lighting and Troy Lighting | All Tile sourced from River City Tile – master bathroom floor, shower walls in 24 x 48 and shower niche | Cabinetry by Kitch | Custom railings by Iron Elements
Feel free to comment below with any questions or comments and check back for more details soon!
Comments are closed.